

Scenario:
A Citrix Administrator has prepared two server OS machines to host applications. The administrator used Machine Creation Services to provision the server OS
machines. The server OS machines are part of the Windows 2012 Servers machine catalog. The Server 2012 Hosted Desktops and Applications delivery group is
assigned to the Windows 2012 Servers machine catalog.
The administrator was instructed to roll out Firefox as a hosted application and has installed Firefox on the master server OS machine named Win2012-Master.
Now, the administrator needs to update the server OS machines so that Firefox is available as a hosted application to only the Finance user group through
StoreFront or Citrix Receiver upon the next reboot of the server OS machines. The Finance user group is a member of the Server 2012 Hosted Desktops and
Applications delivery group.
Tasks:
Update the Windows 2012 Servers machine catalog to meet the requirements outlined in the scenario.

Answer: See the explanation
Explanation:
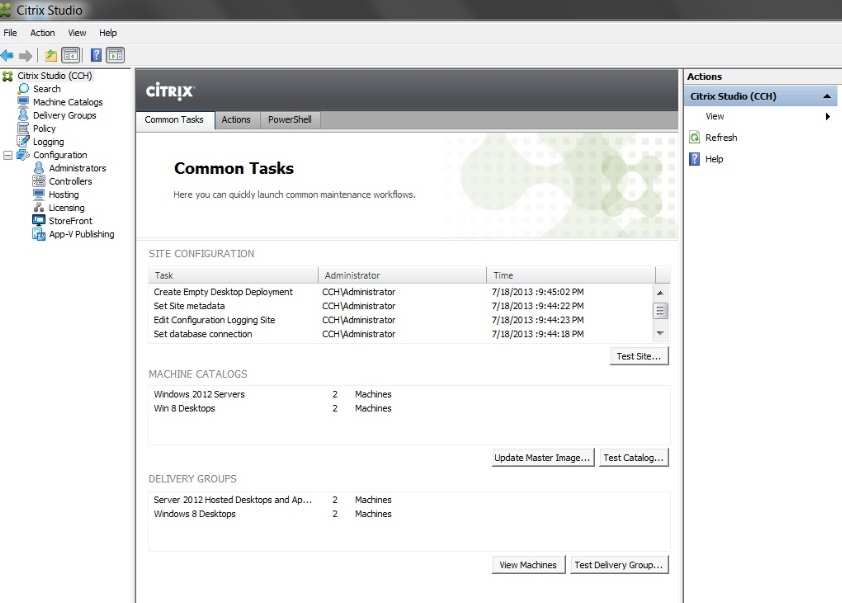
In Studio, select the Machine Catalogs node and then click View.
Select the machine catalog to upgrade. Check the Details tab, which displays operating system and VDA version information and click Upgrade Catalog.Thewizard checks to make sure that the machine catalog can be upgraded and indicates that the machine catalog is suitable for upgrade.
If the wizard indicates that the machine catalog is suitable for upgrade, an informational message appears. Click Upgrade and follow the prompts to complete the
upgrade.
If one or more machines are not suitable, the wizard lists the reasons for the machine deficiencies.
Click View Details for detailed information. You can optionally export the information to a file by clicking Export Details in the Upgrade Warnings dialog box.
Click Cancel and update the machines that need upgrades.
To create an application for a Delivery Group
In Studio, select the Delivery Group node, select the Applications tab, and then click Create Applications.
On the Delivery Group page, select a Delivery Group to host the applications and then click Next.
On the Applications page, add existing applications to this Delivery Group from the list of applications Studio discovers and displays.
Note: The assigned user or group must be a member of the Delivery Group to which this application is assigned to view or access this application.
To optionally add a custom application, click Add applications manually then click Next. Complete the following information about the application on the Add an
Application Manually page:
Path to the executable file
Optional command line parameters
Directory
Display names for administrator and users — Name that users see and Name that only administrators seeLocation — Path to the application’s executable file, working directory, and an optional command line argument
Limit Visibility — Limit which users or groups of users can see the application
Note: The assigned user or group must be a member of the Delivery Group to which this application is assigned. Otherwise, they cannot view or access this
application.
File Type Association — Which types of files the application automatically opens
On the Summary page, check all details
Repeat the previous steps to create applications for additional application Delivery Groups or application and desktop Delivery Groups.


