

Scenario:
A Citrix Administrator has updated the Finance vDisk to include Microsoft Office 2013. The administrator has tested the Finance vDisk and now needs to merge all
updates to the vDisk to maximize and reclaim disk space. Members of the Finance user group are expected to have access to Microsoft Office 2013 when they log
on to desktops to which the Finance vDisk is assigned.
Tasks:
1. Merge all updates to the vDisk.
2. Ensure members of the Finance user group have access to Microsoft Office 2013 as stated in the scenario.
3. Complete the tasks that are necessary to meet the requirements outlined in the scenario.

Answer: See the explanation
Explanation:
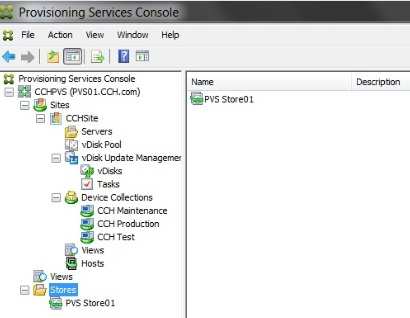
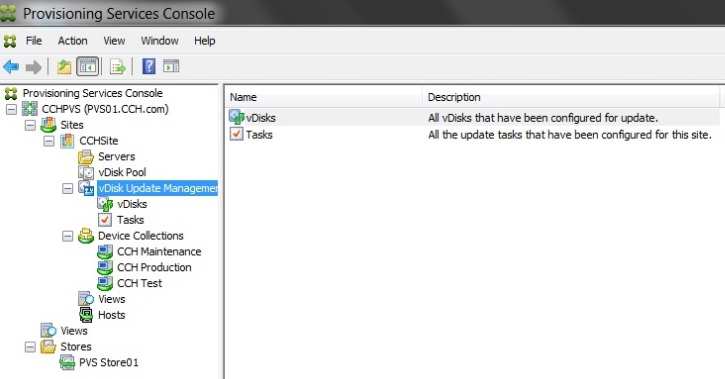
Merging Differencing Disks
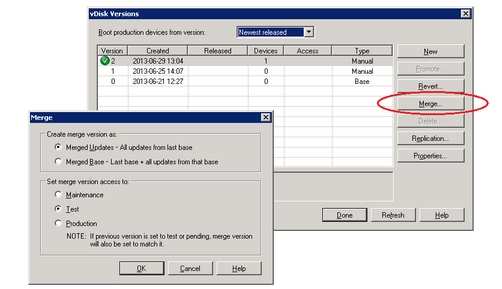
Right-click on a vDisk in the Console, then select the Versions menu option. The vDisk Versions dialog appears.
Click the Merge button. The Merge dialog appears.
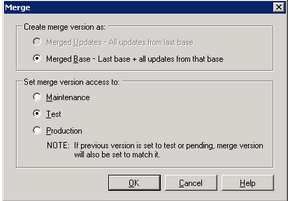
Select to perform a Merged Updates or Merged Base merge.
To merge all differencing disks to a single differencing disk (not to the base disk image), select the Merged Updates option.
To fully merge all differencing disks into a new base disk, select the Merged Base option.
Select the access mode (Production, Maintenance, or Test) for this version after the merge completes. If no access type is selected, the vDisk mode setting
selected for automatic merge, on the Farm Properties’ vDisk Version tab, is selected by default.
Click OK to begin the merge process.
The time it takes to complete the merge process varies based on the merge method selected and the number of differencing disks to merge. After the merge
successfully completes, the new version displays in the vDisk Versions dialog. The Type column displays either Merge Base if a full merge was selected,
orMerge if a partial merge was selected.

Create Application Delivery Group
1. Start the Delivery Group wizard in Citrix Studio. Select the machine

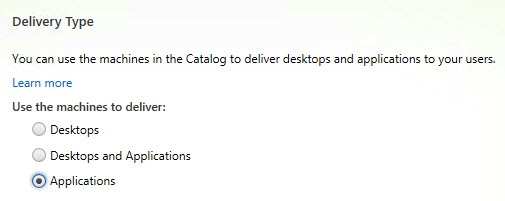
2. When using server based operating systems you can deliver a full blow desktop complete with the menu bar (sans the Start Button on WS2012), just
applications, or a combination of both. Select just Applications,
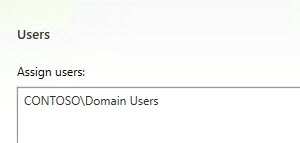
3. Specify the users or groups that need these applications.
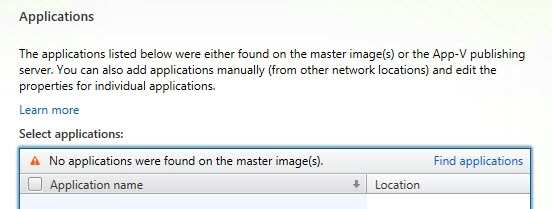
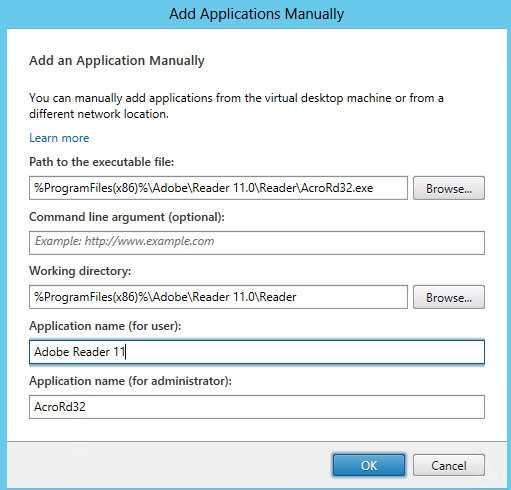
4. Next up we can start adding the applications that are installed on our server
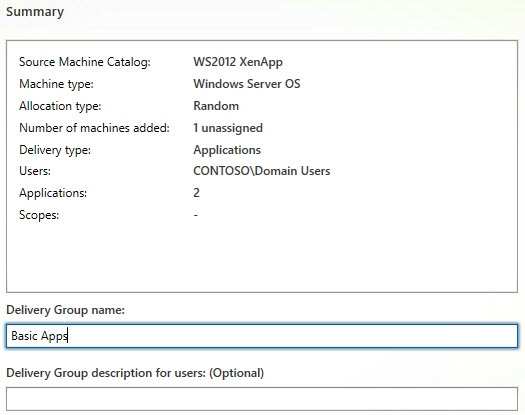
5. Next up we create a delivery group name.
6. Refresh my app list to test the application
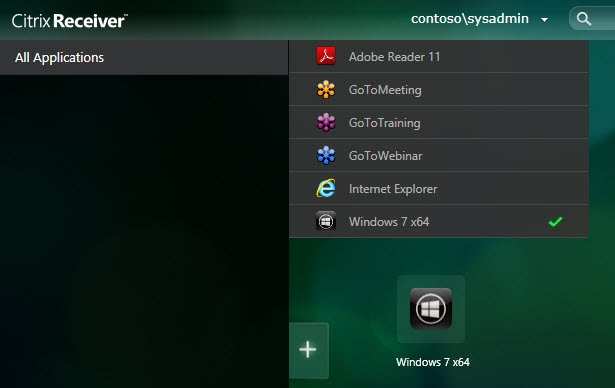
You can now launch your apps and they will appear in their own window on your local computer.
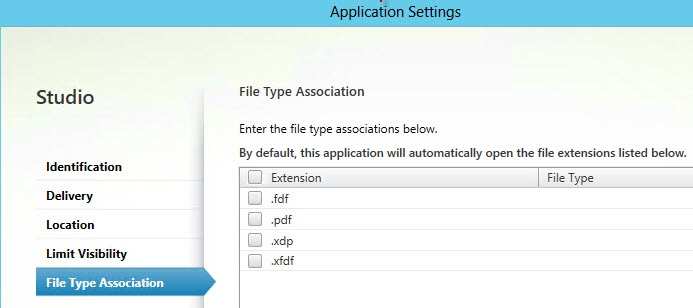
7. If you want to further customize individual applications (say limit an app to a sub-group of users or change file type associations), then you can open the
properties of the application in Citrix Studio.
If you check the Start Menu or Start screen on your local computer, you will now see icons for the published applications. This lets you seamlessly launch them just
as if they were a native application. Launching will probably be a bit slower since behind the scenes it logs you into the XenApp server, launches the process, then
remotes the window back do your client.


