
SIMULATION
Scenario
You are the network security administrator for your organization. Your company is growing and
a remote branch office is being created. You are tasked with configuring your headquarters
Cisco ASA to create a site-to-site IPsec VPN connection to the branch office Cisco ISR. The
branch office ISR has already been deployed and configured and you need to complete the
IPsec connectivity configurations on the HQ ASA to bring the new office online.
Use the following parameters to complete your configuration using ASDM. For this exercise, not
all ASDM screens are active.
Enable IKEv1 on outside I/F for Site-to-site VPN
Add a Connection Profile with the following parameters:
Peer IP: 203.0.113.1
Connection name: 203.0.113.1
Local protected network: 10.10.9.0/24
Remote protected network: 10.11.11.0/24
Group Policy Name: use the default policy name supplied
Preshared key: cisco
Disable IKEv2
Encryption Algorithms: use the ASA defaults
Disable pre-configured NAT for testing of the IPsec tunnel
Disable the outside NAT pool rule
Establish the IPsec tunnel by sending ICMP pings from the Employee PC to the Branch
Server at IP address 10.11.11.20
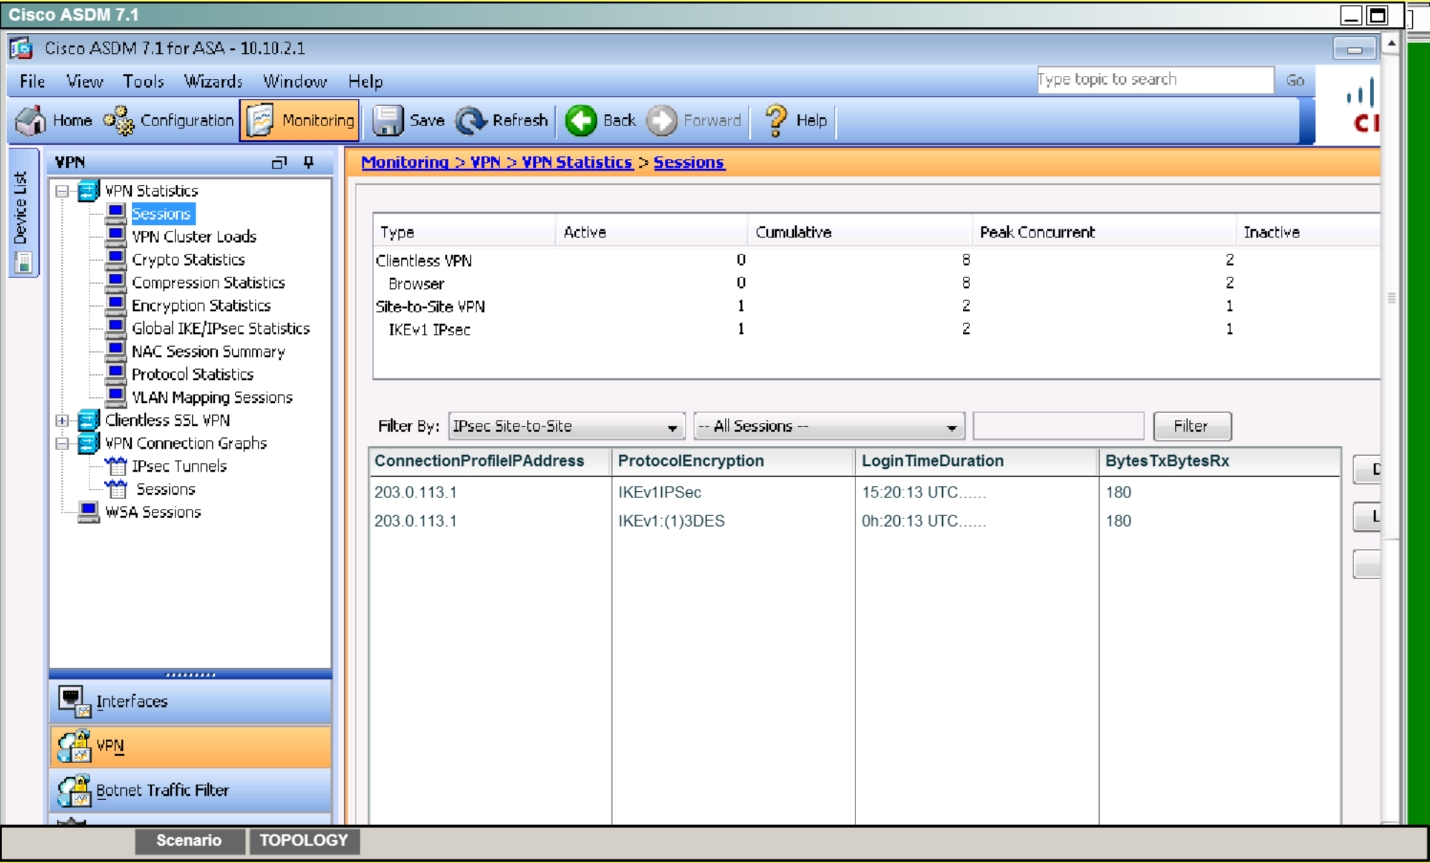
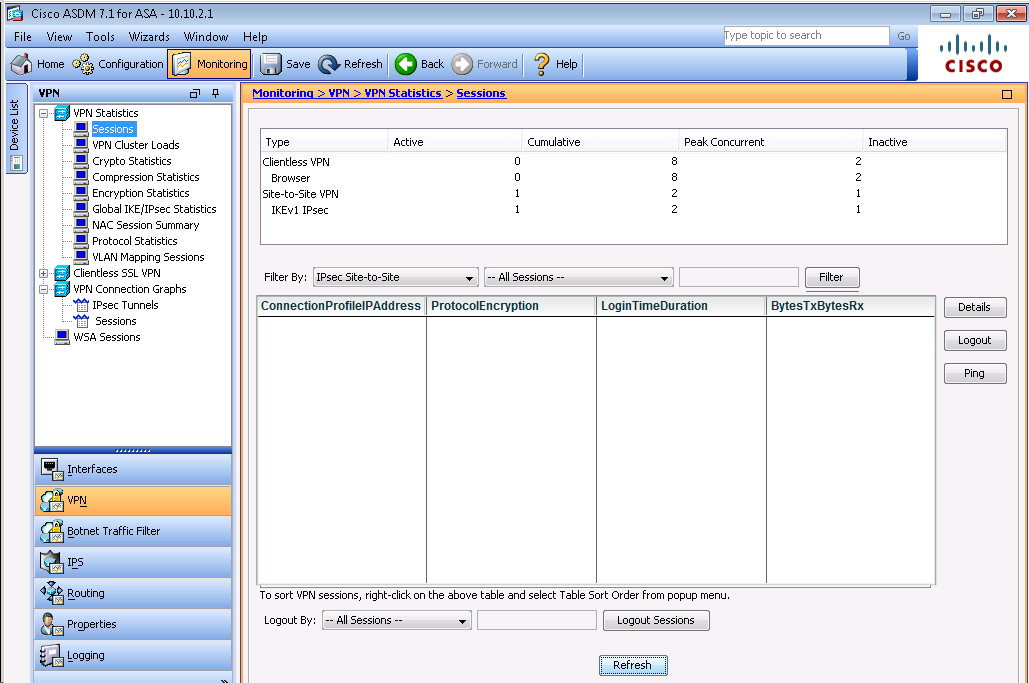
Verify tunnel establishment in ASDM VPN Statistics> Sessions window pane
You have completed this exercise when you have successfully configured, established, and
verified site-to-site IPsec connectivity between the ASA and the Branch ISR.
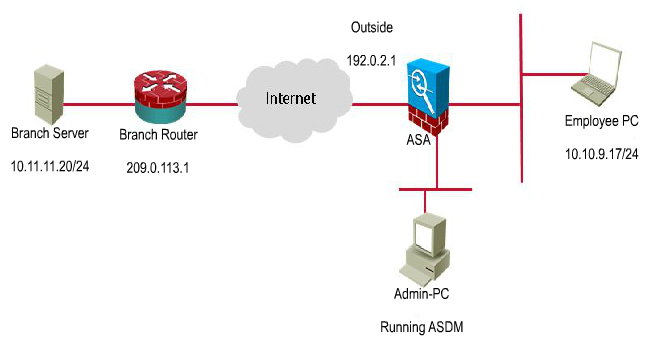
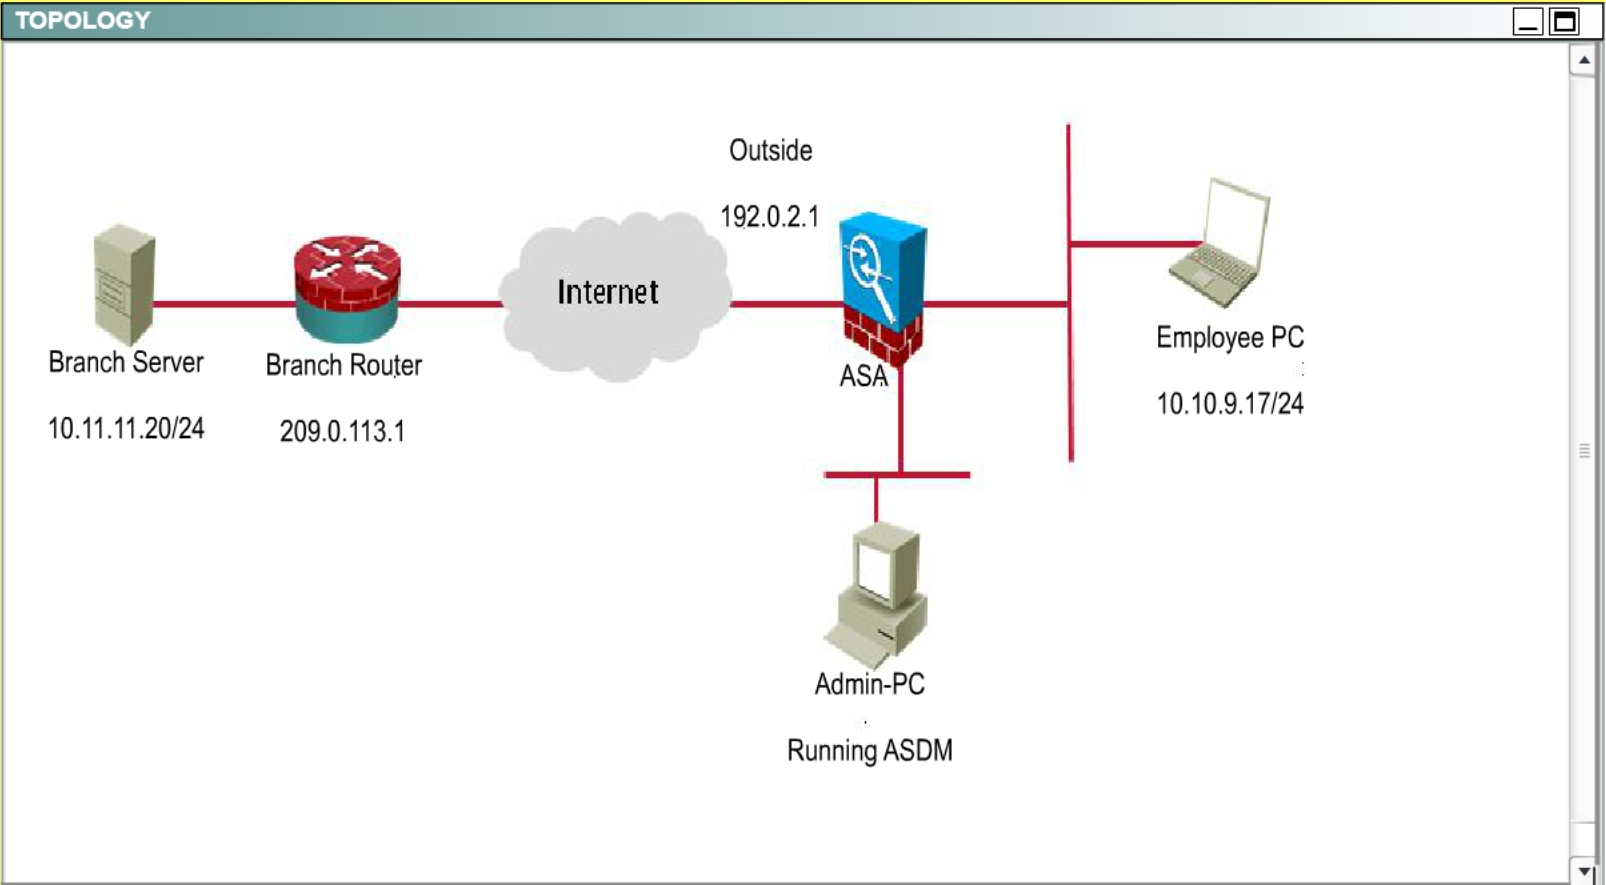
Topology


Answer: See the explanation
Explanation:
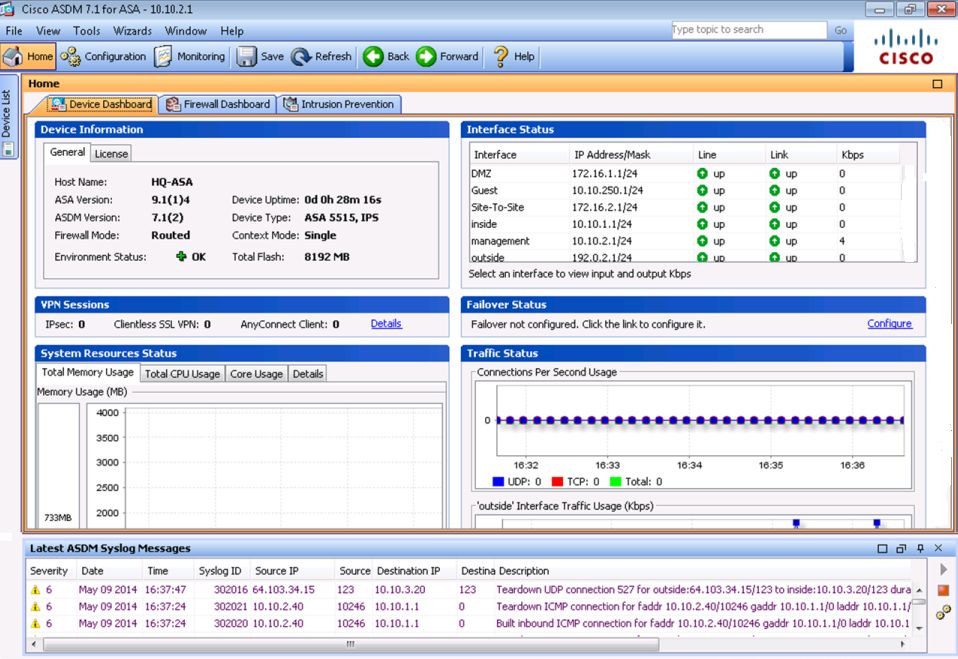
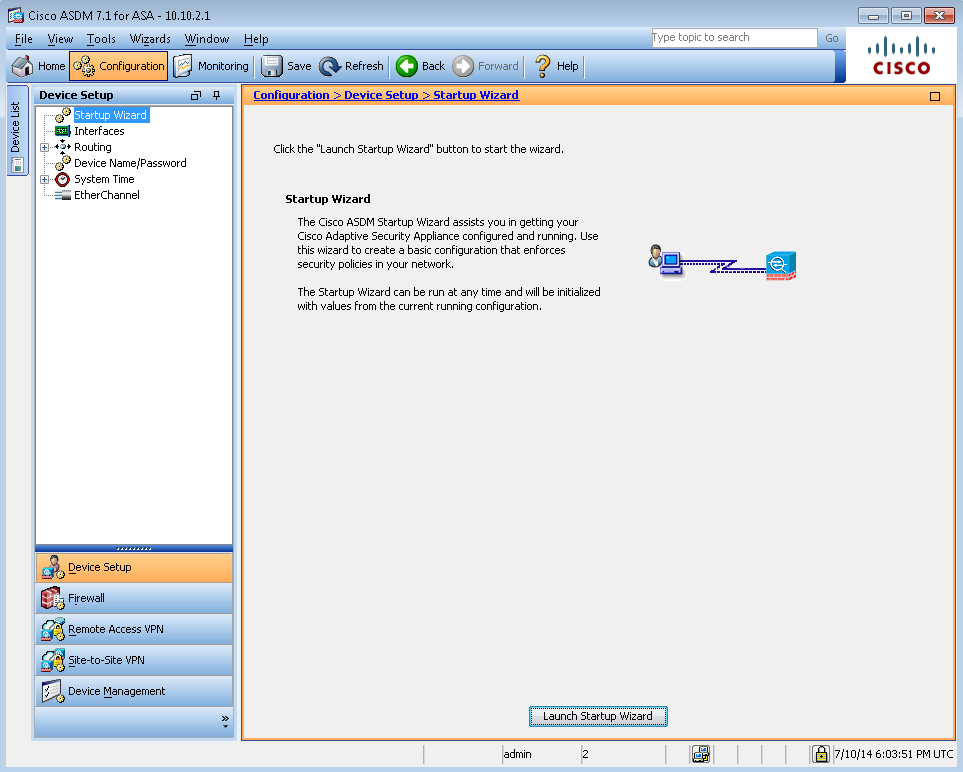
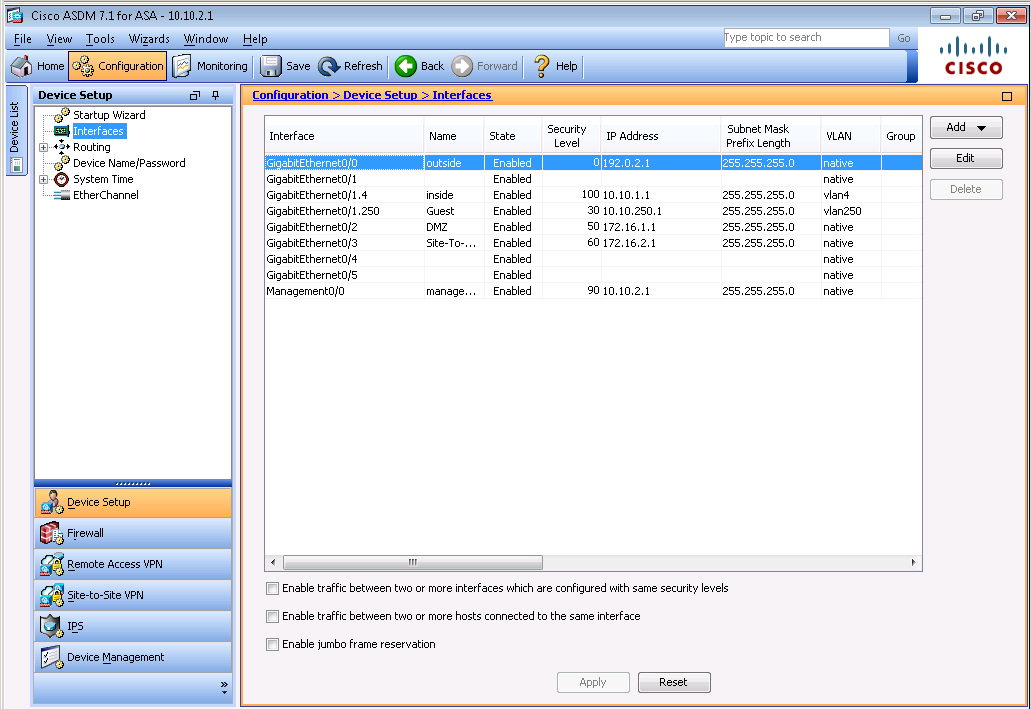
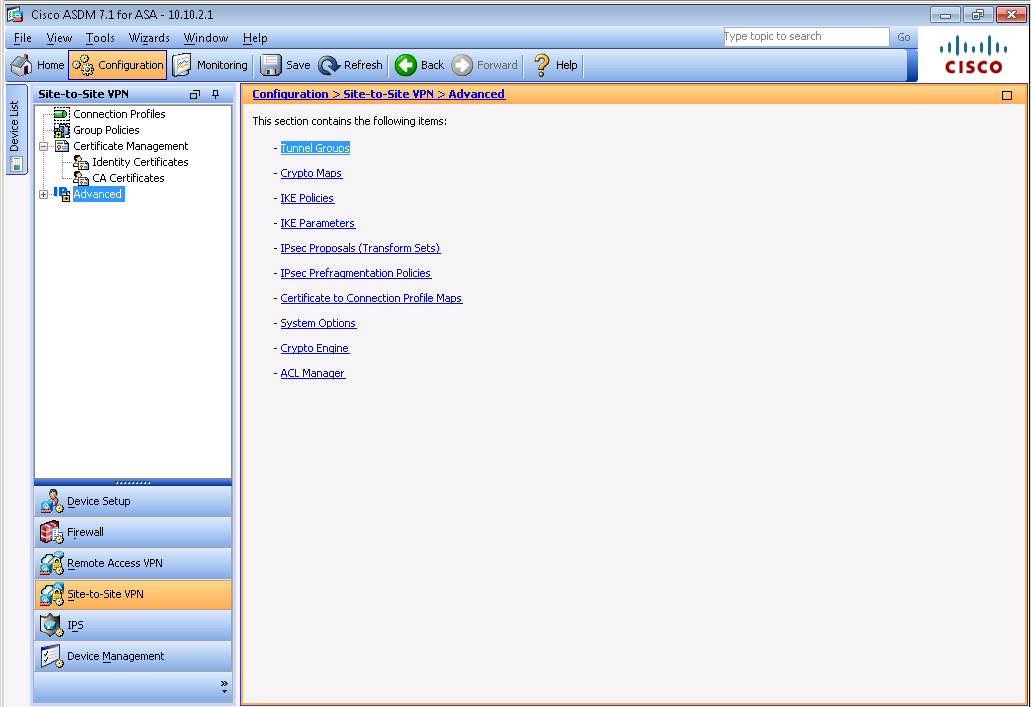
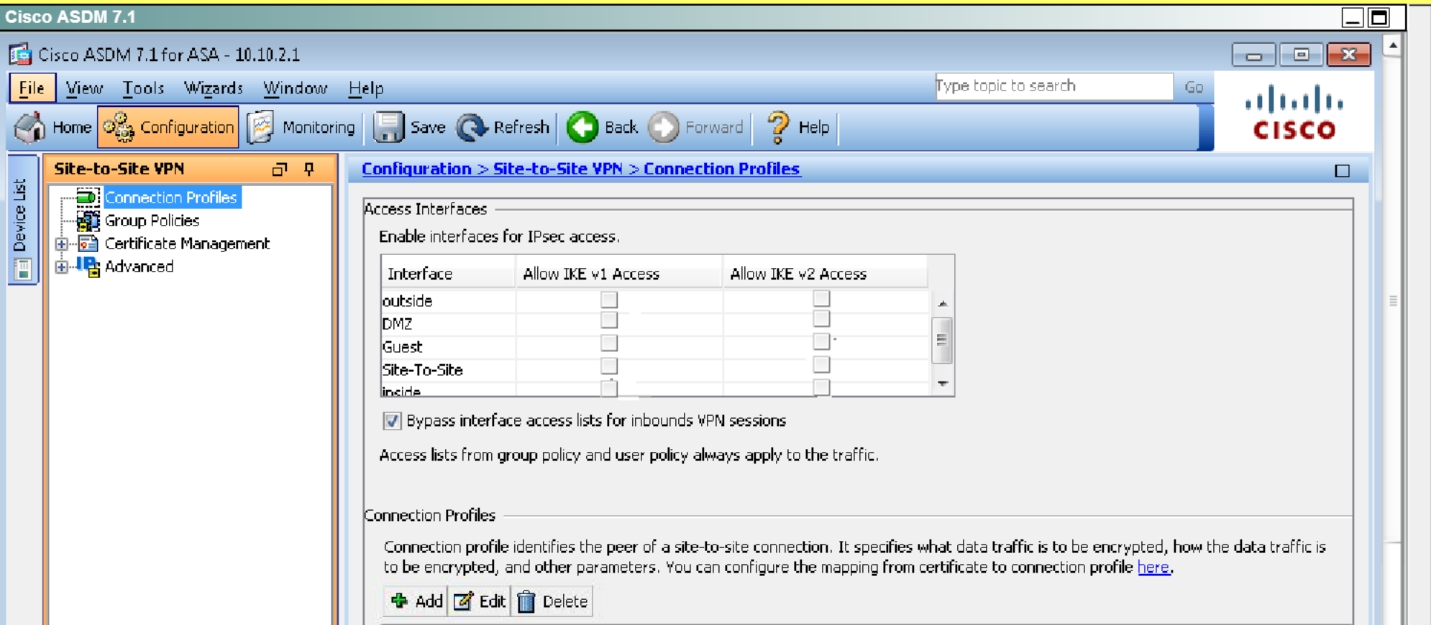
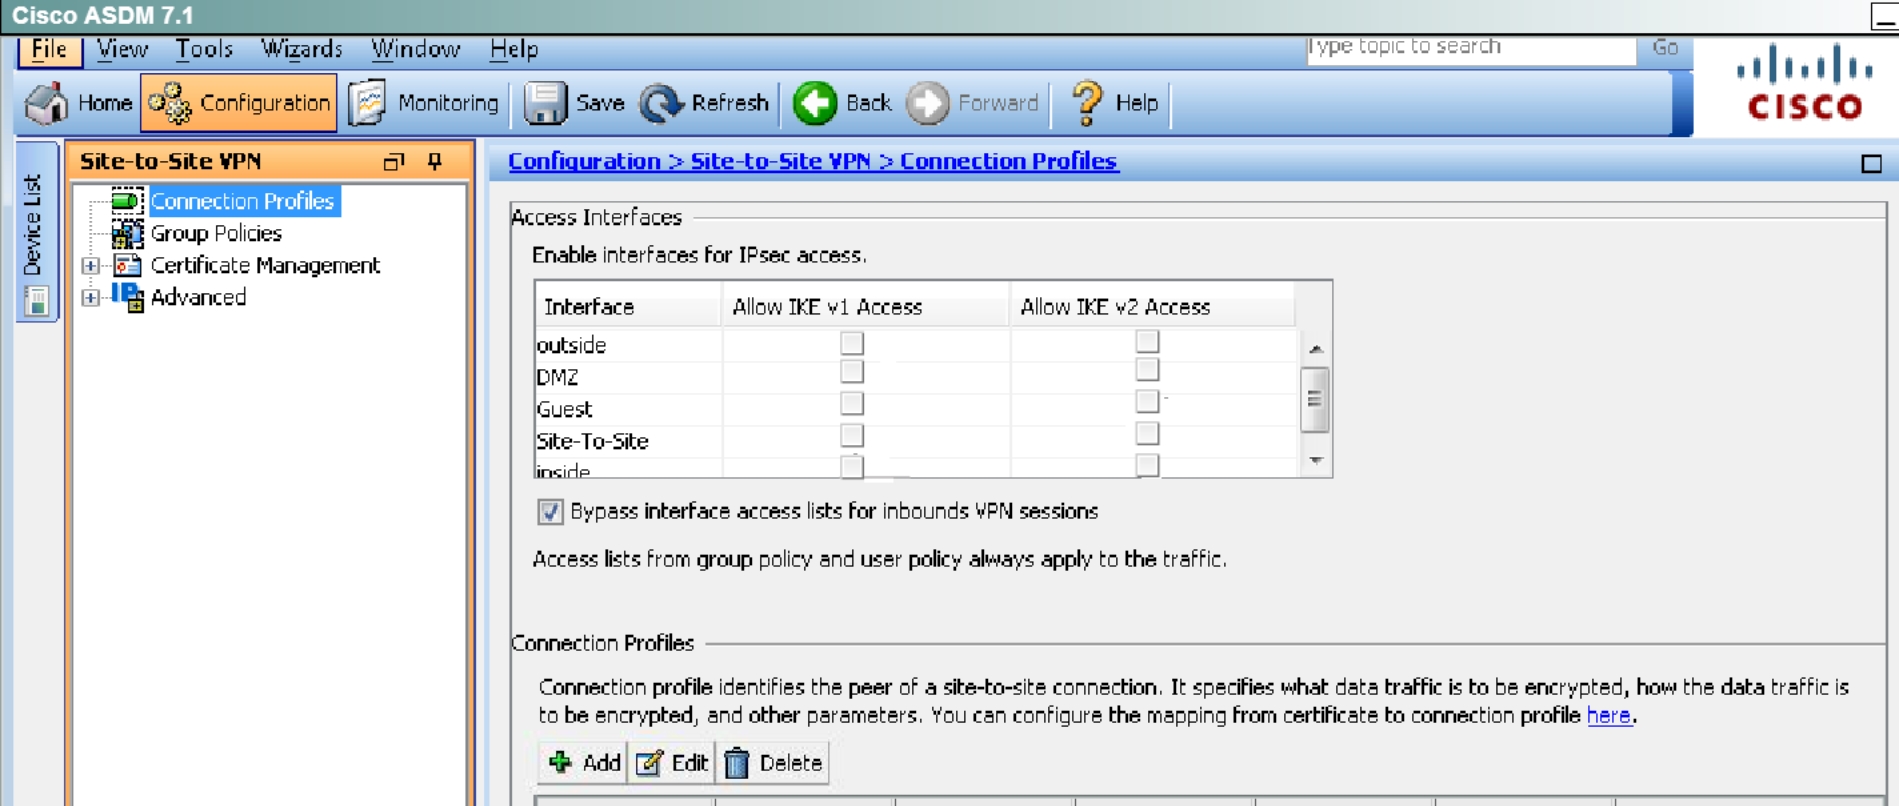
First, click on Configuration ->Site-to-Site VPN to bring up this screen:
Click on “allow IKE v1 Access” for the outside per the instructions as shown below:
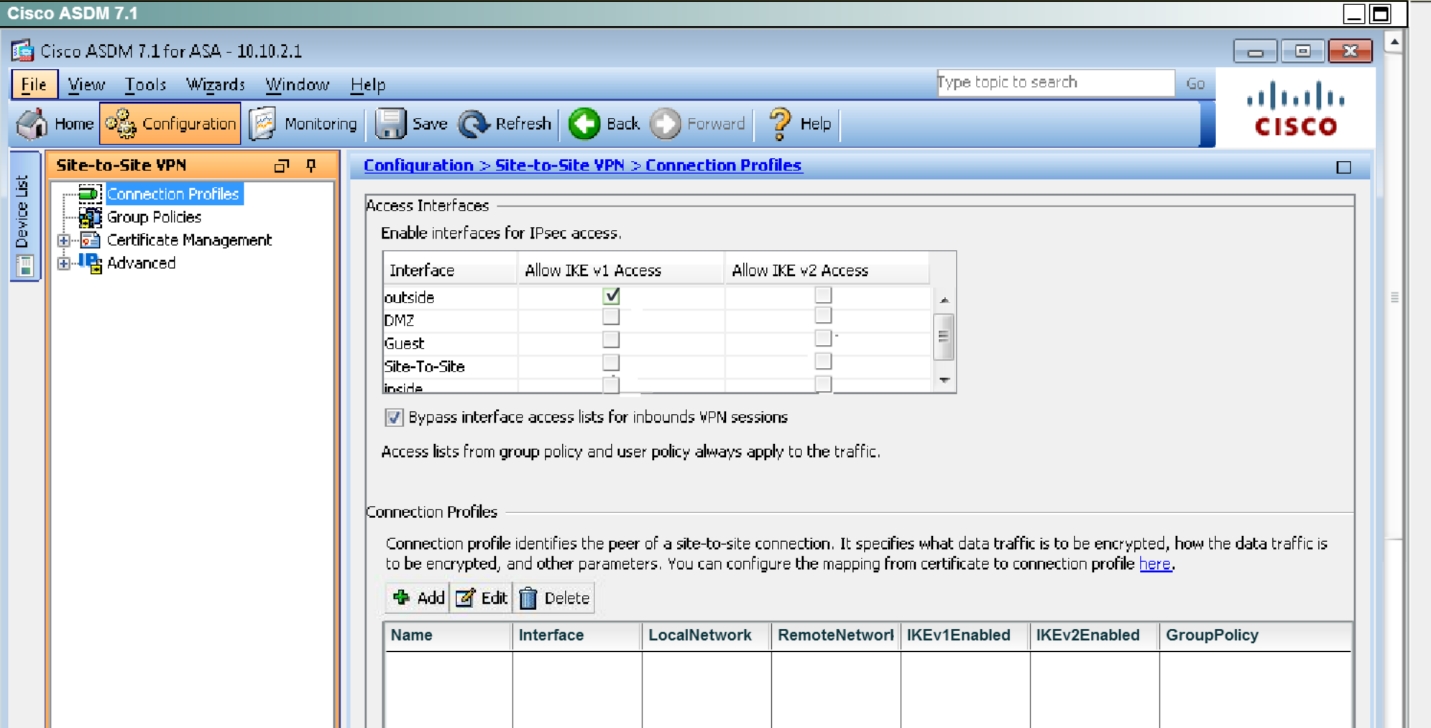
Then click apply at the bottom of the page. This will bring up the following pop up message:
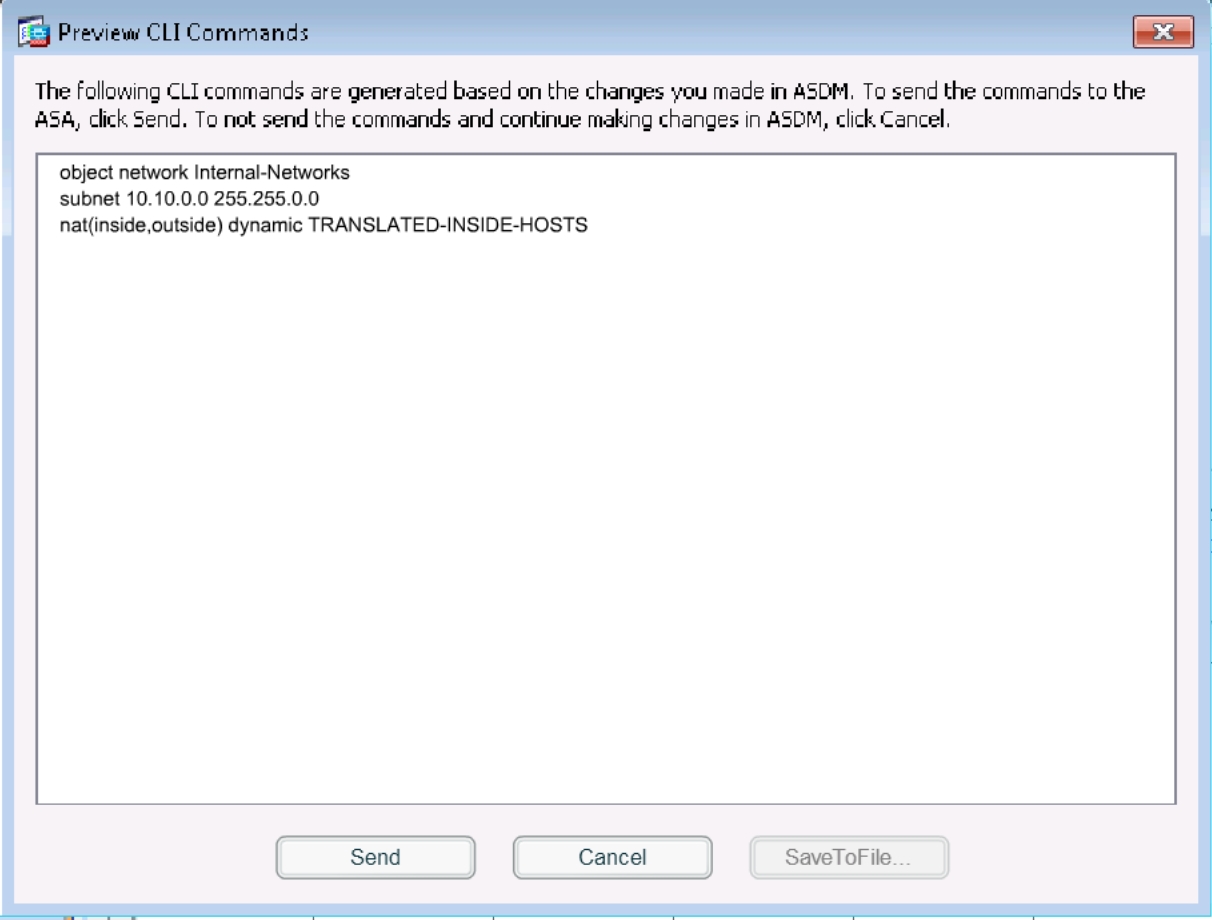
Click on Send.
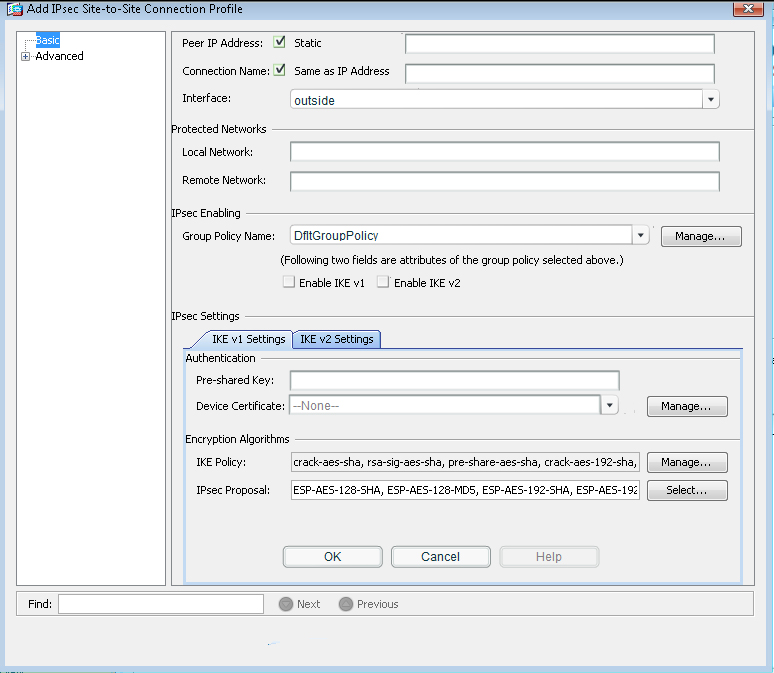
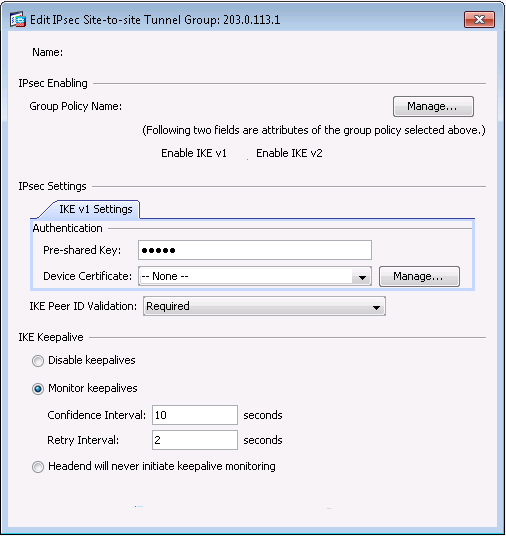
Next, we need to set up the connection profile. From the connection profile tab, click on “Add”
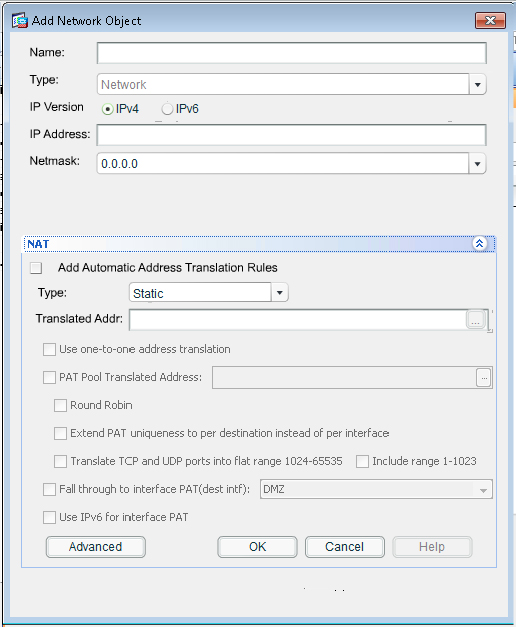
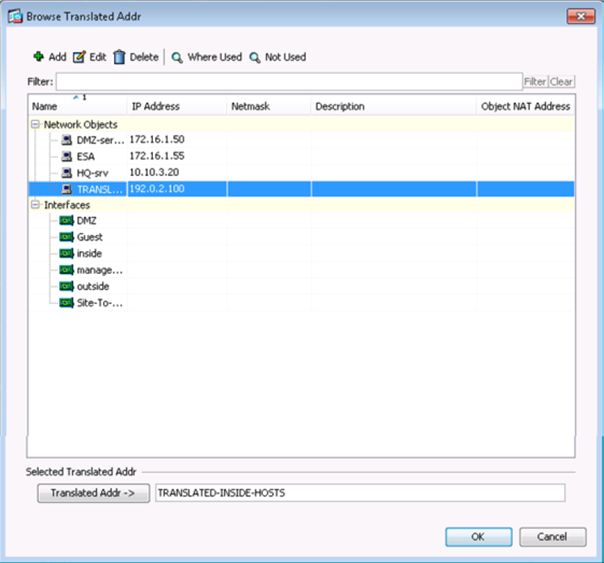
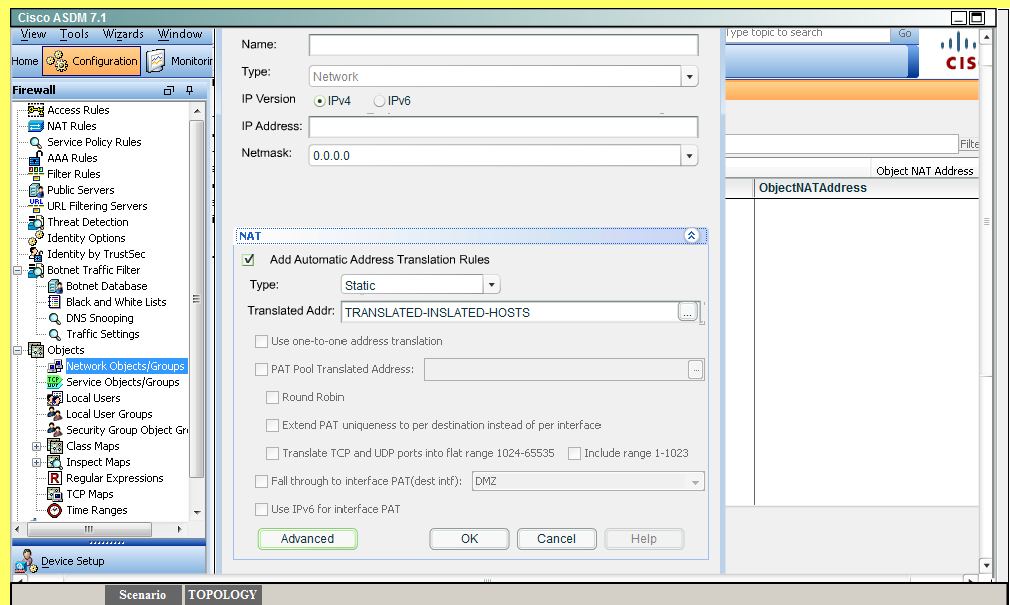
Then, fill in the information per the instructions as shown below:
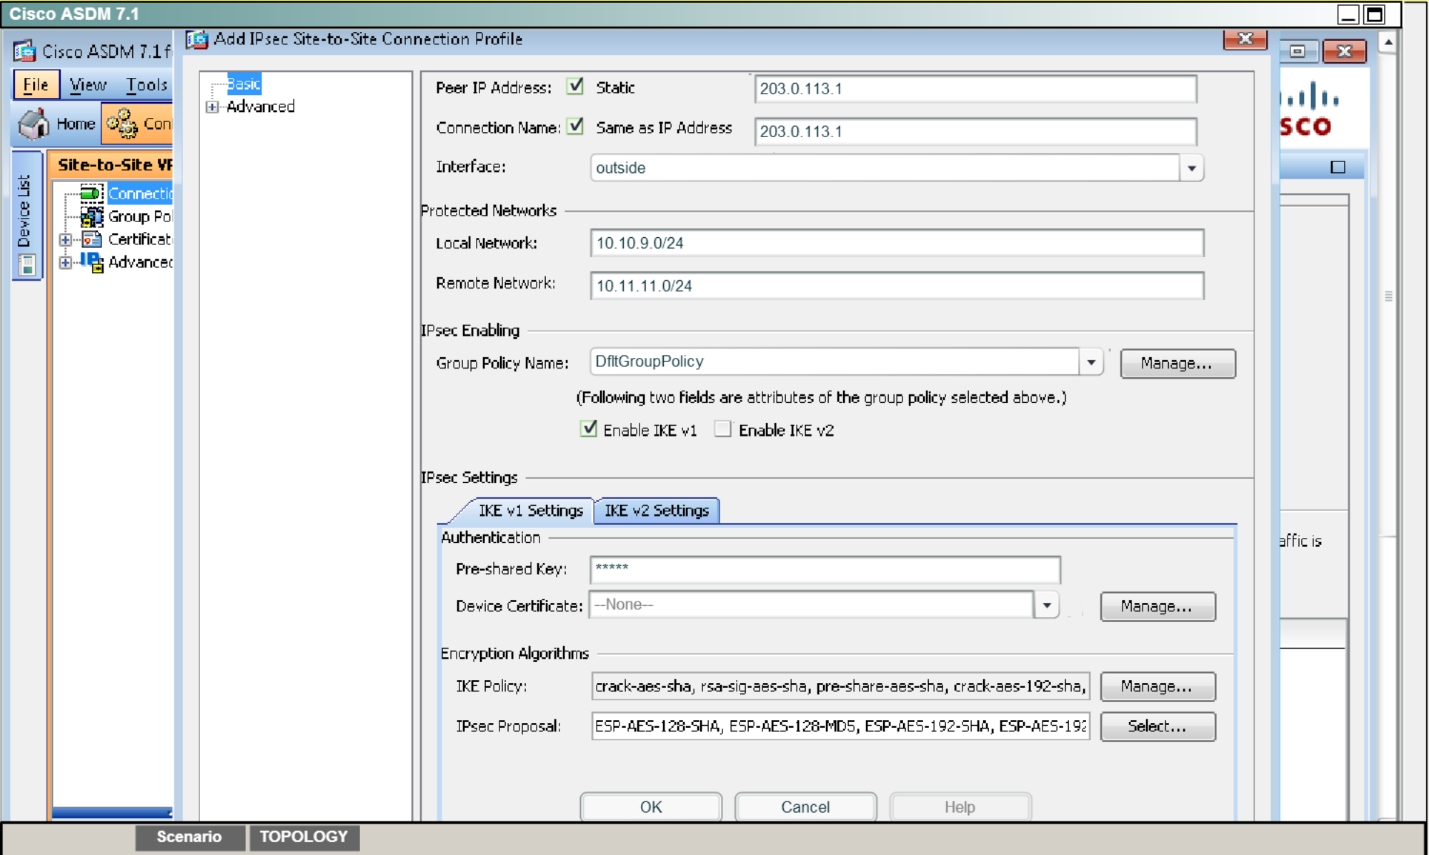
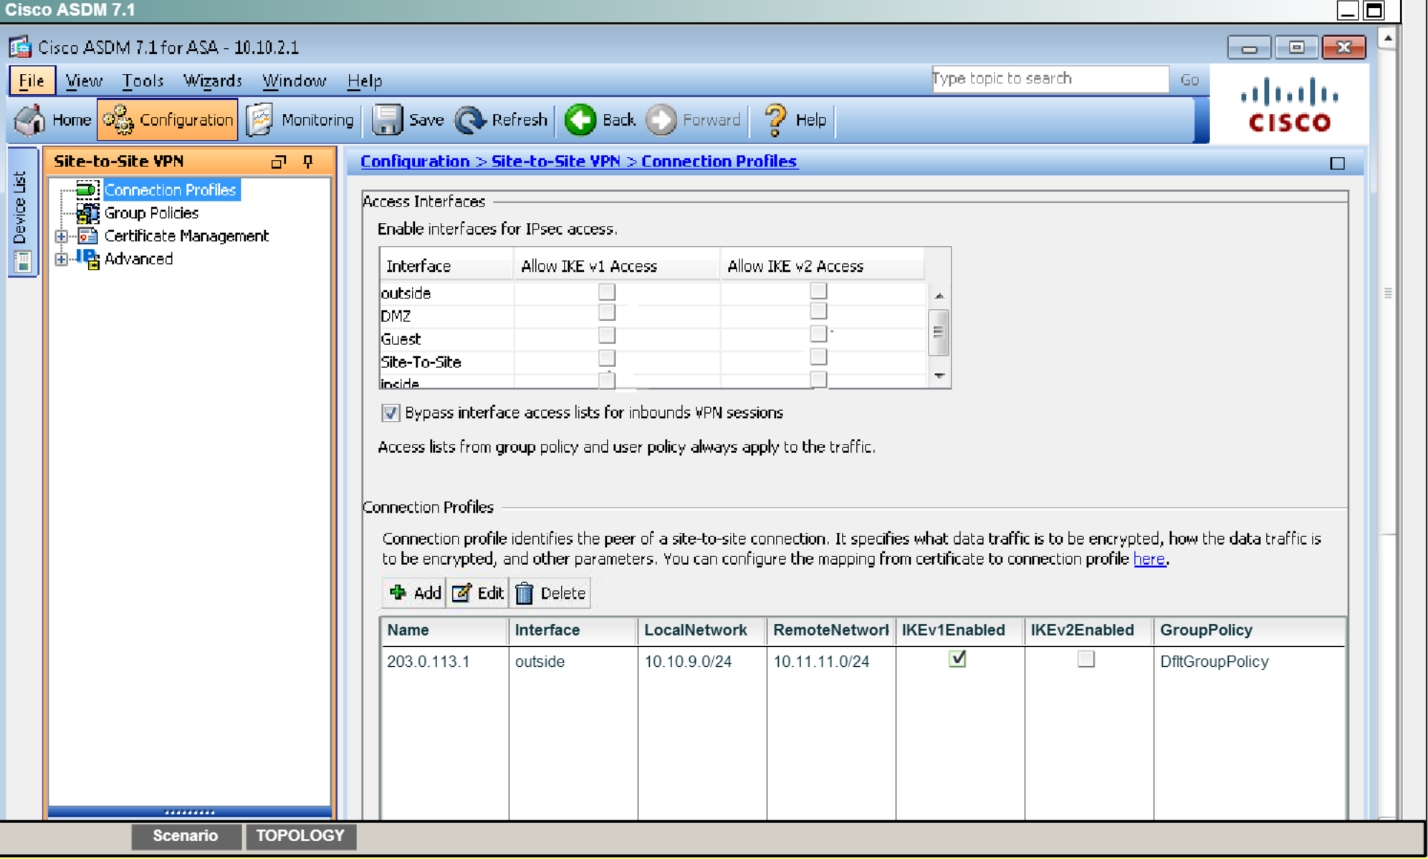
Hit OK and you should see this:
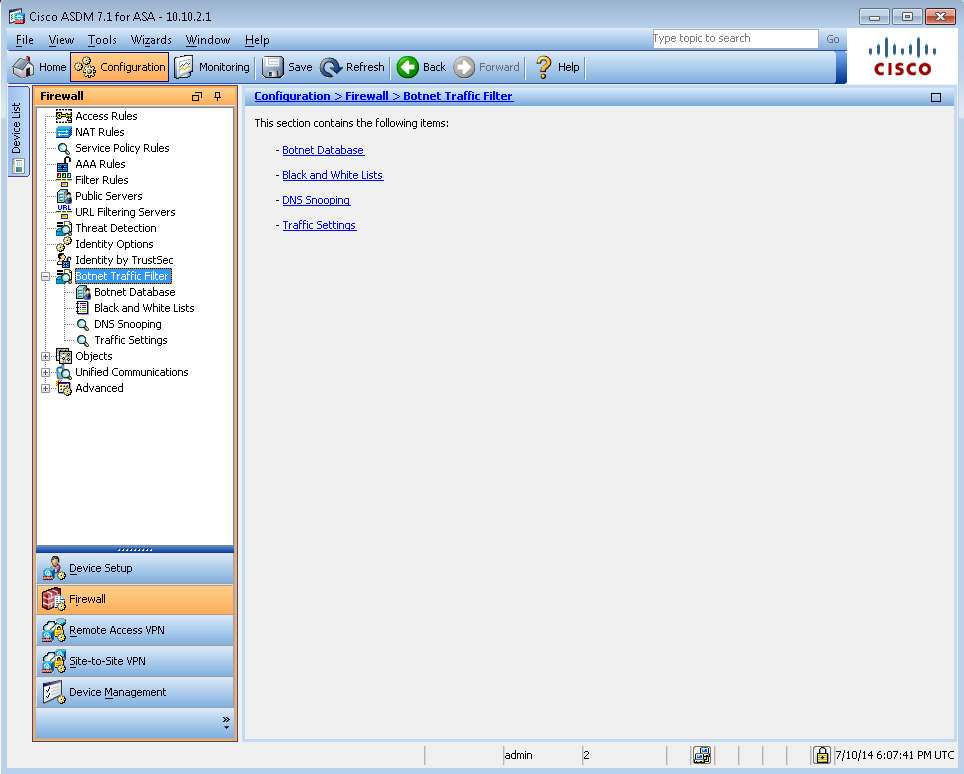
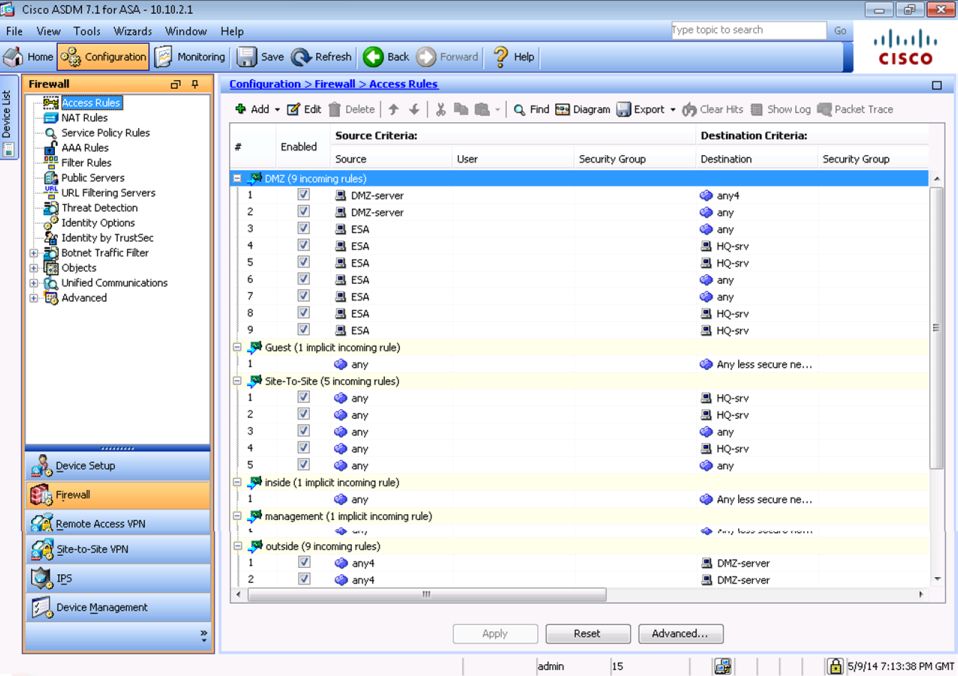
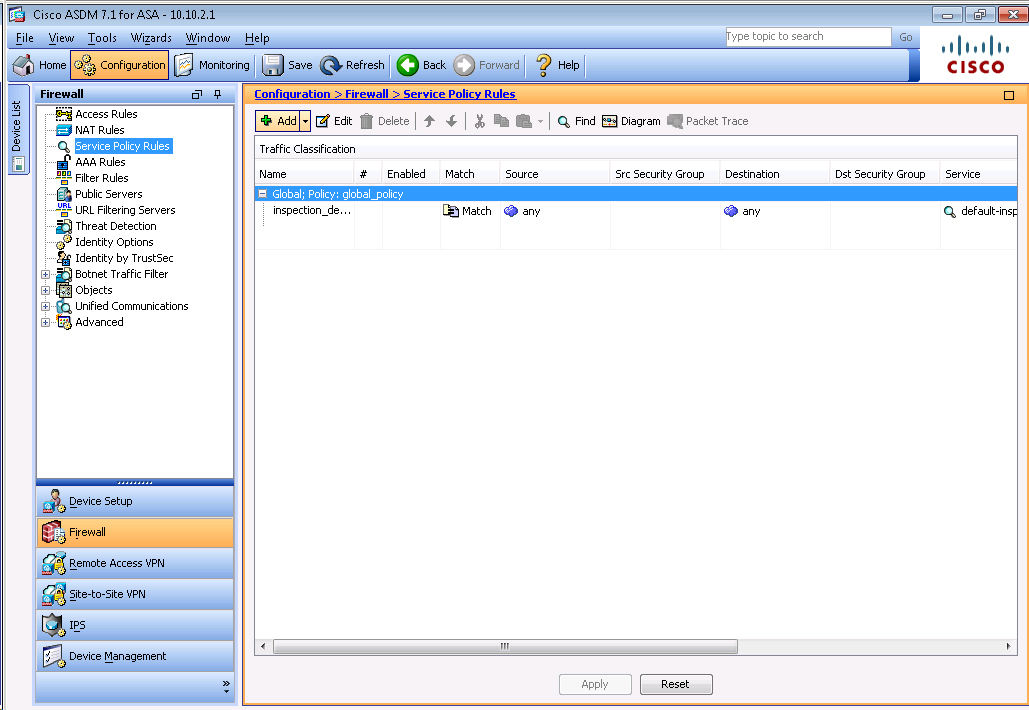
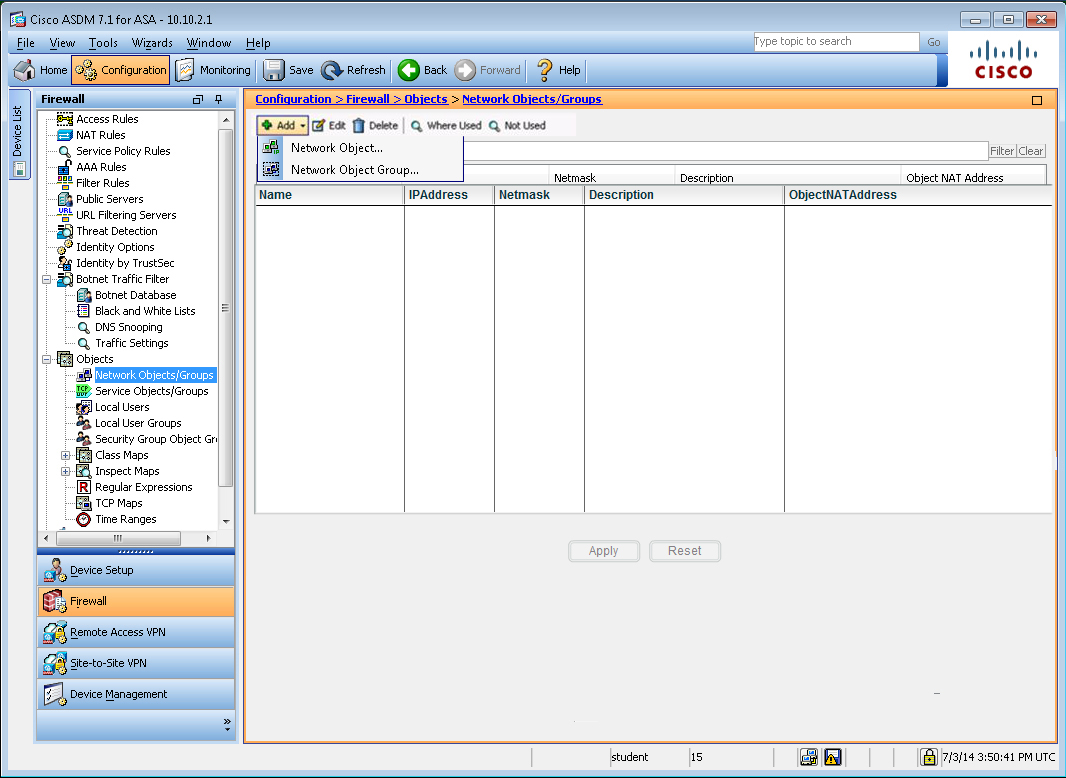
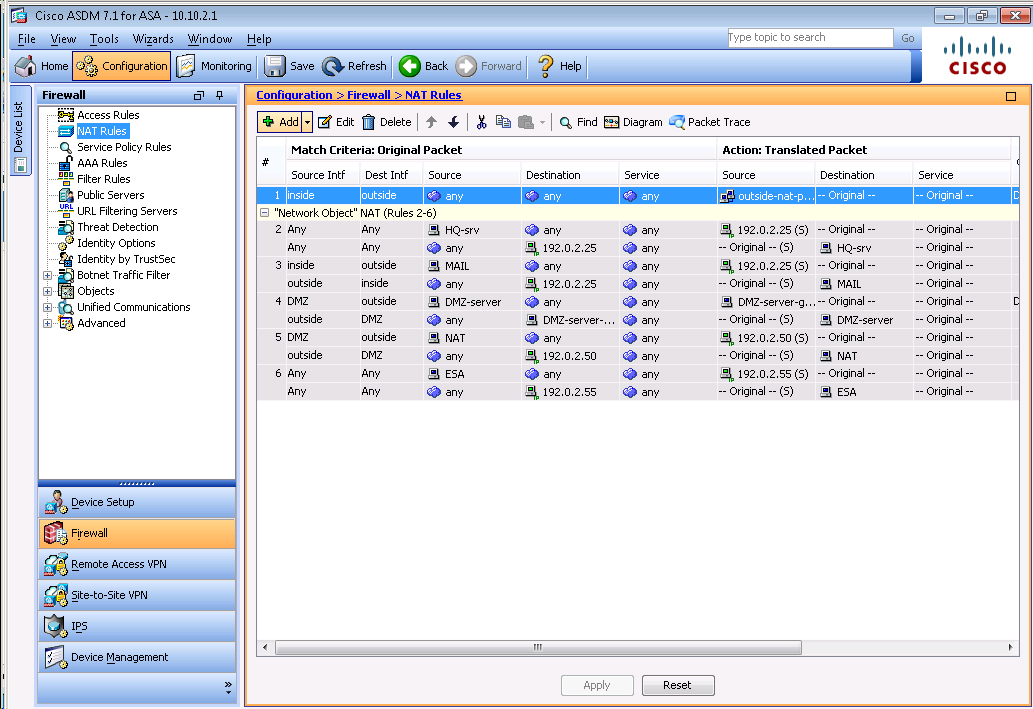
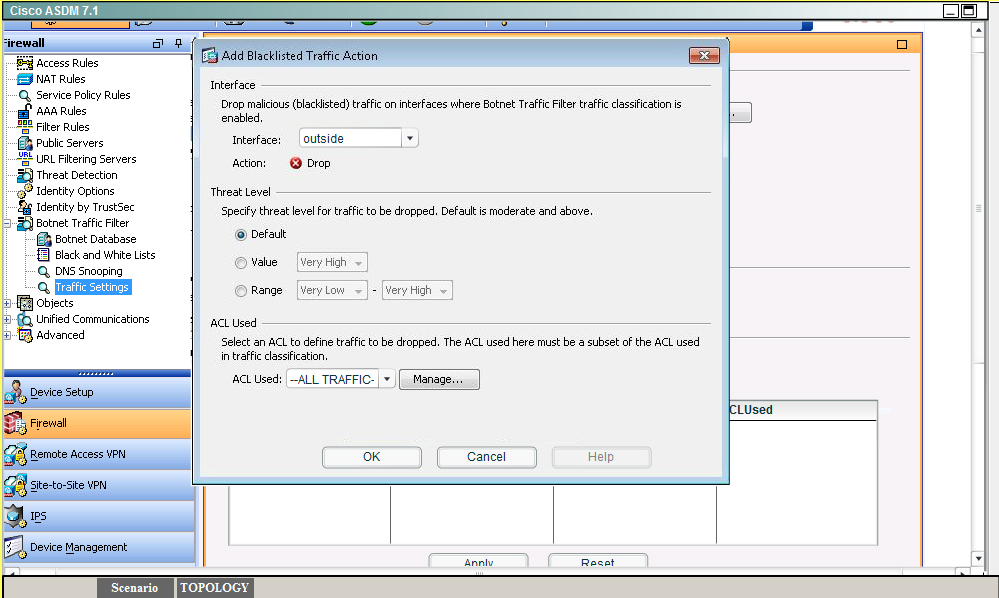
To test this, we need to disable NAT. Go to Configuration -> Firewall -> NATrules and you
should see this:
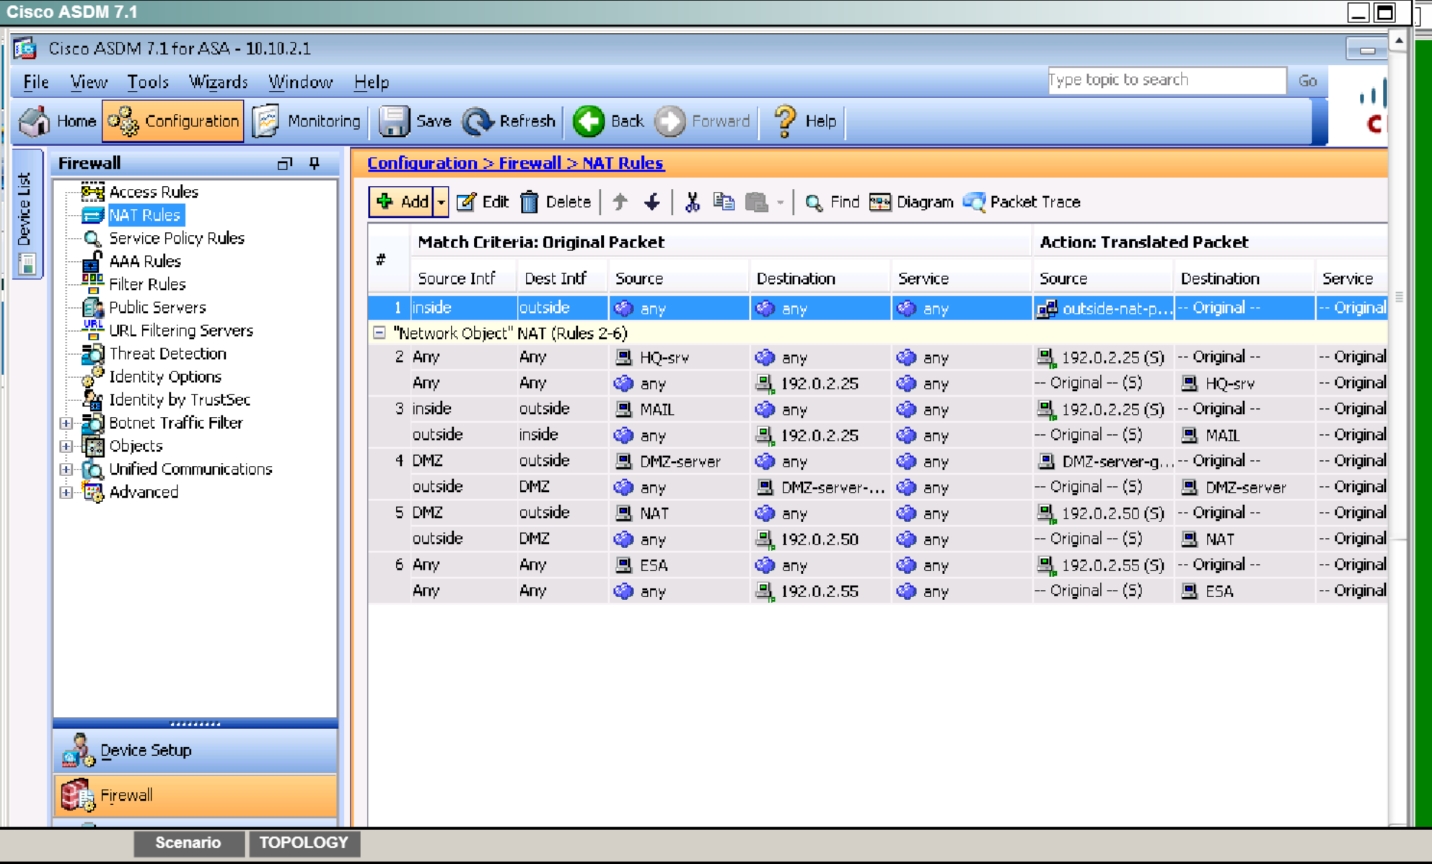
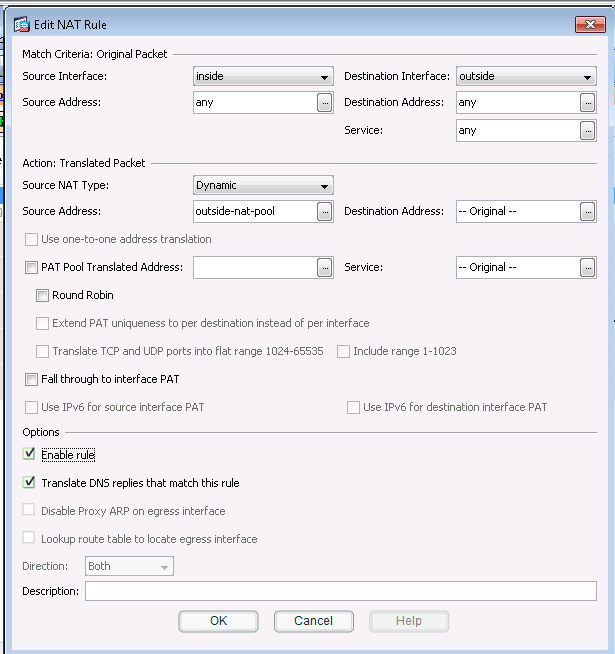
Click on Rule 1 to get the details and you will see this:
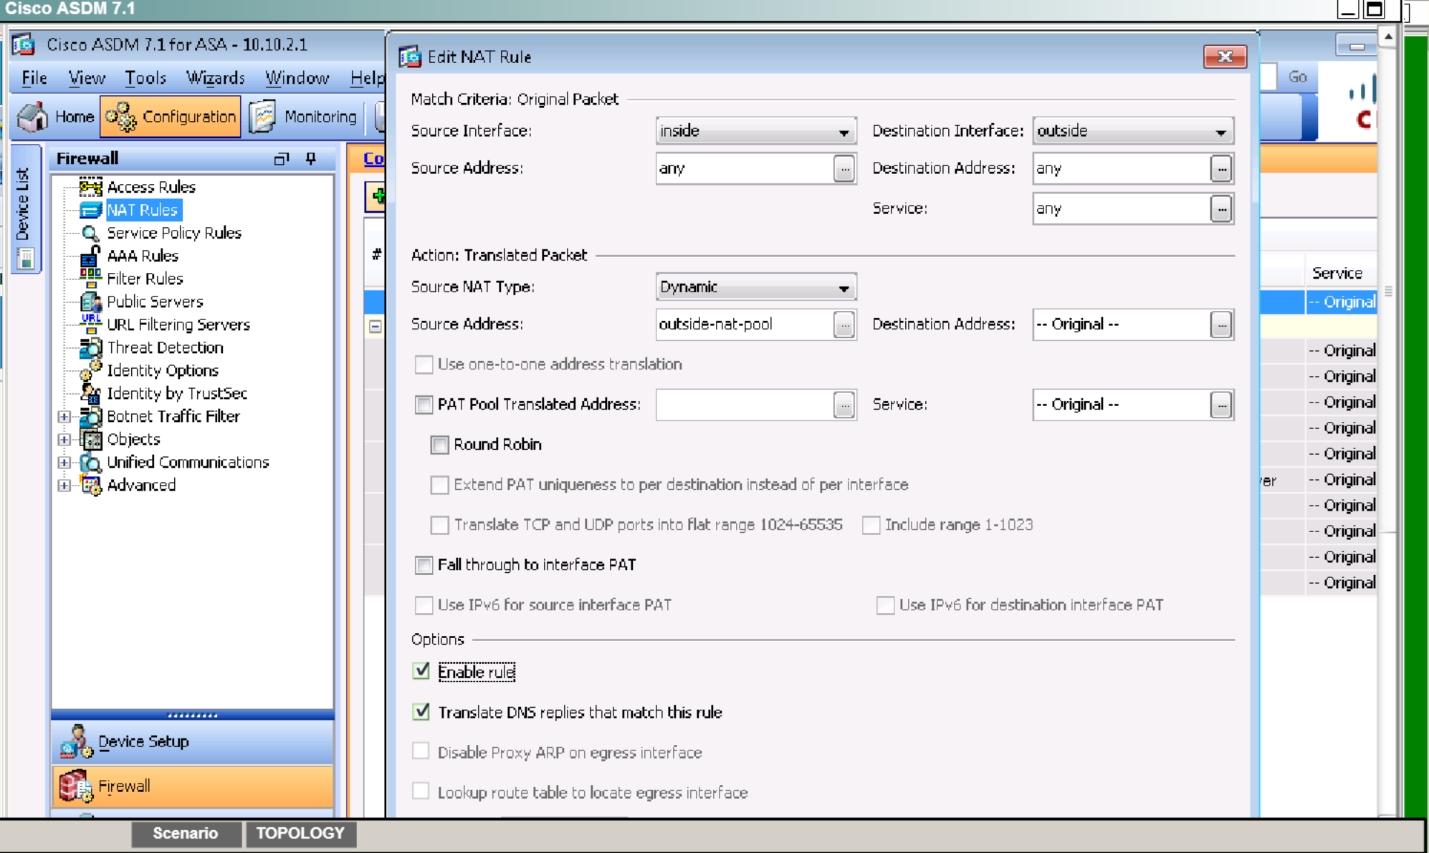
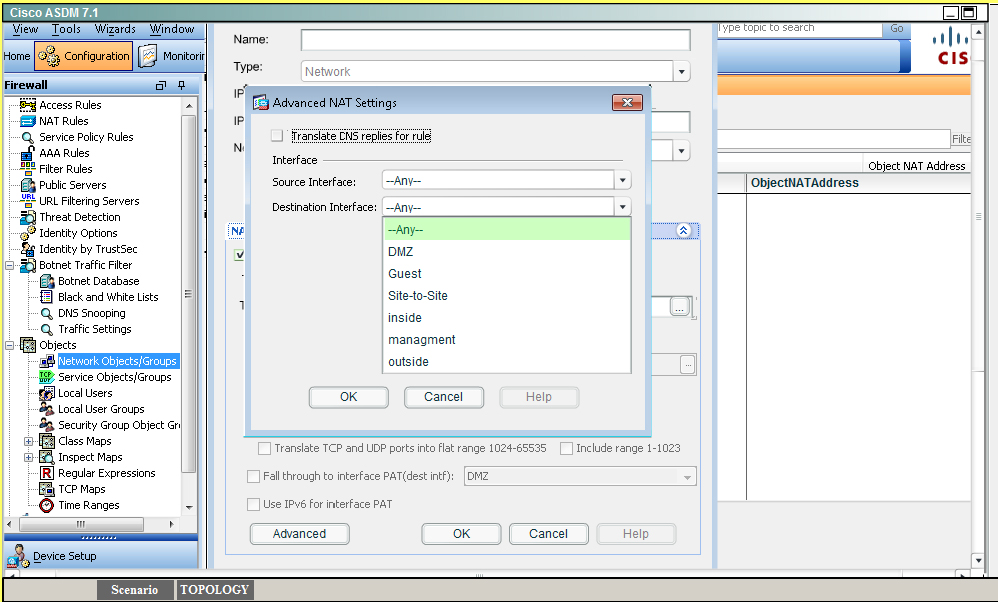
We need to uncheck the “Enable rule” button on the bottom. It might also be a good idea to
uncheck the “Translate DNS replies that match the rule” but it should not be needed.
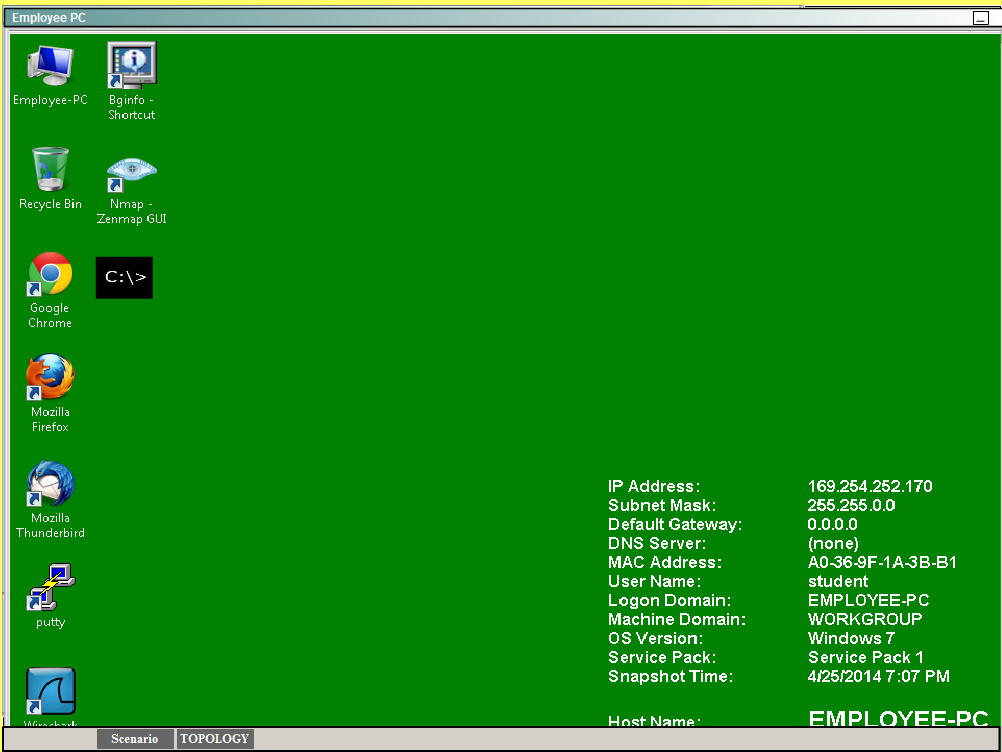
Then, go back to the topology:
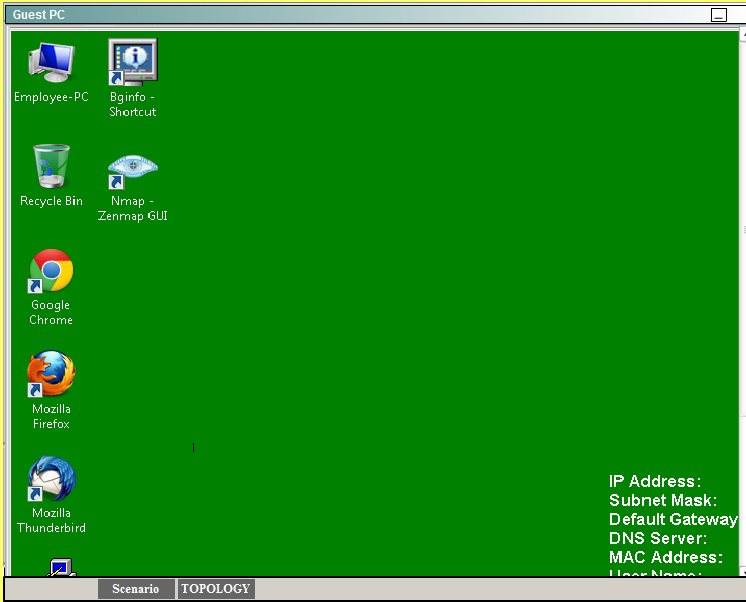
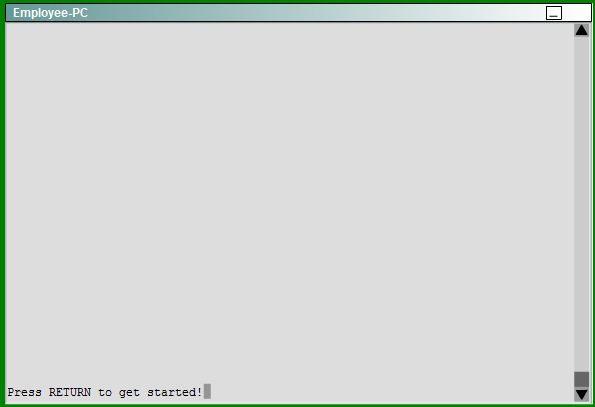
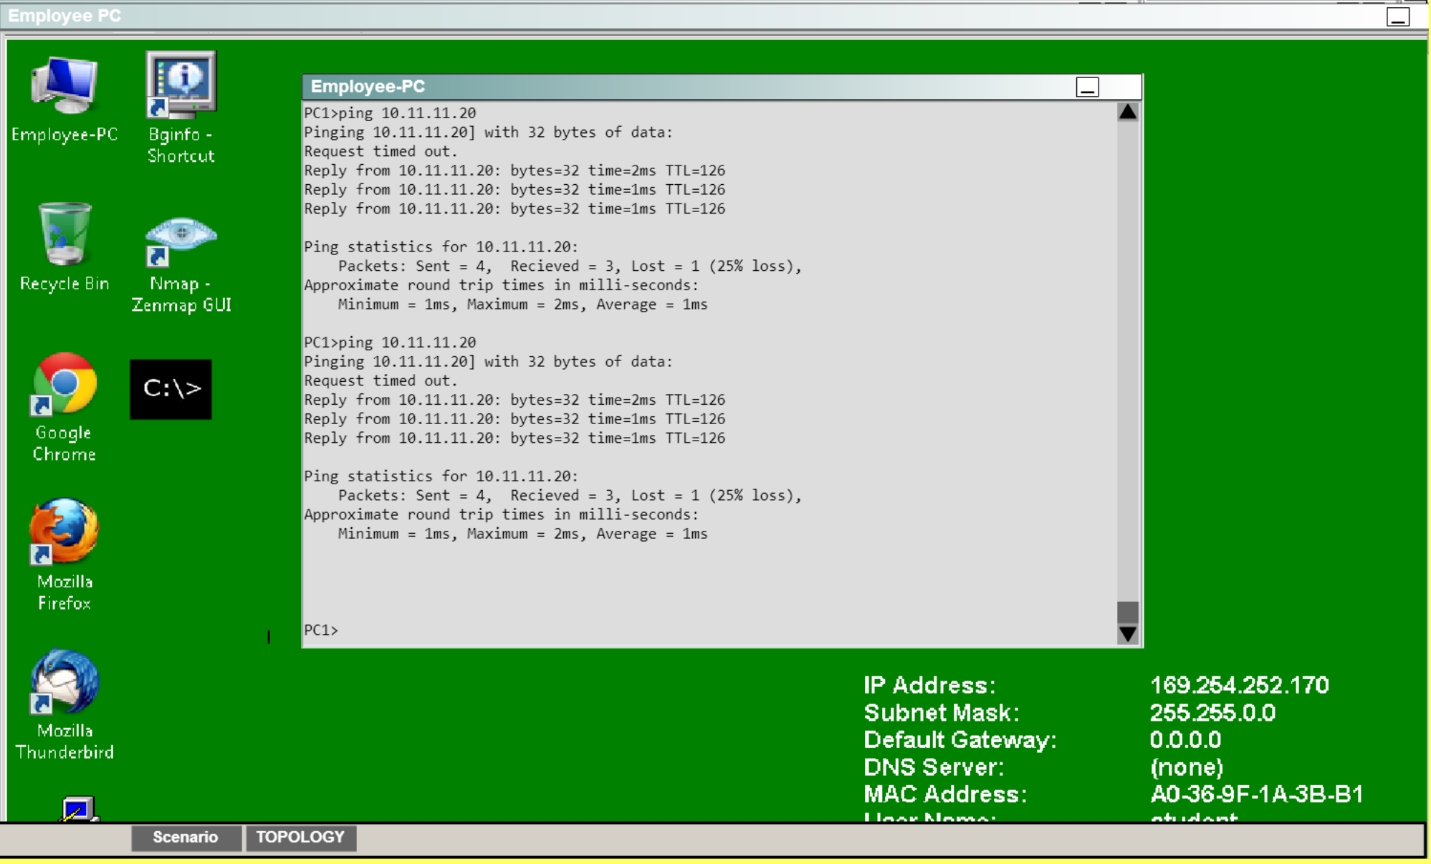
Click on Employee PC, and you will see a desktop with a command prompt shortcut. Use this
to ping the IP address of 10.11.11.20 and you should see replies:
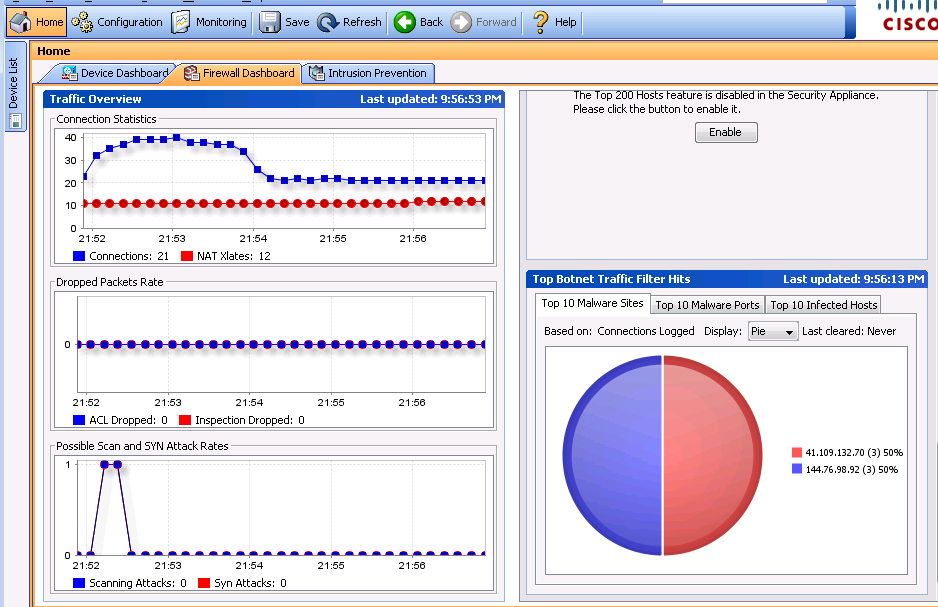
We can also verify by viewing the VPN Statistics -> Sessions and see the bytes in/out
incrementing as shown below: