

SIMULATION
Scenario:
Youare the network security manager for your organization. Yourmanager has received a
request to allow an external user to access to your HQ and DM2 servers. Youare given the
following connection parameters for this task.
Using ASDM on the ASA, configure the parameters below and test your configuration by
accessing the Guest PC. Not all AS DM screens are active for this exercise. Also, for this
exercise, all changes are automatically applied to the ASA and you will not have to click APPLY
to apply the changes manually.
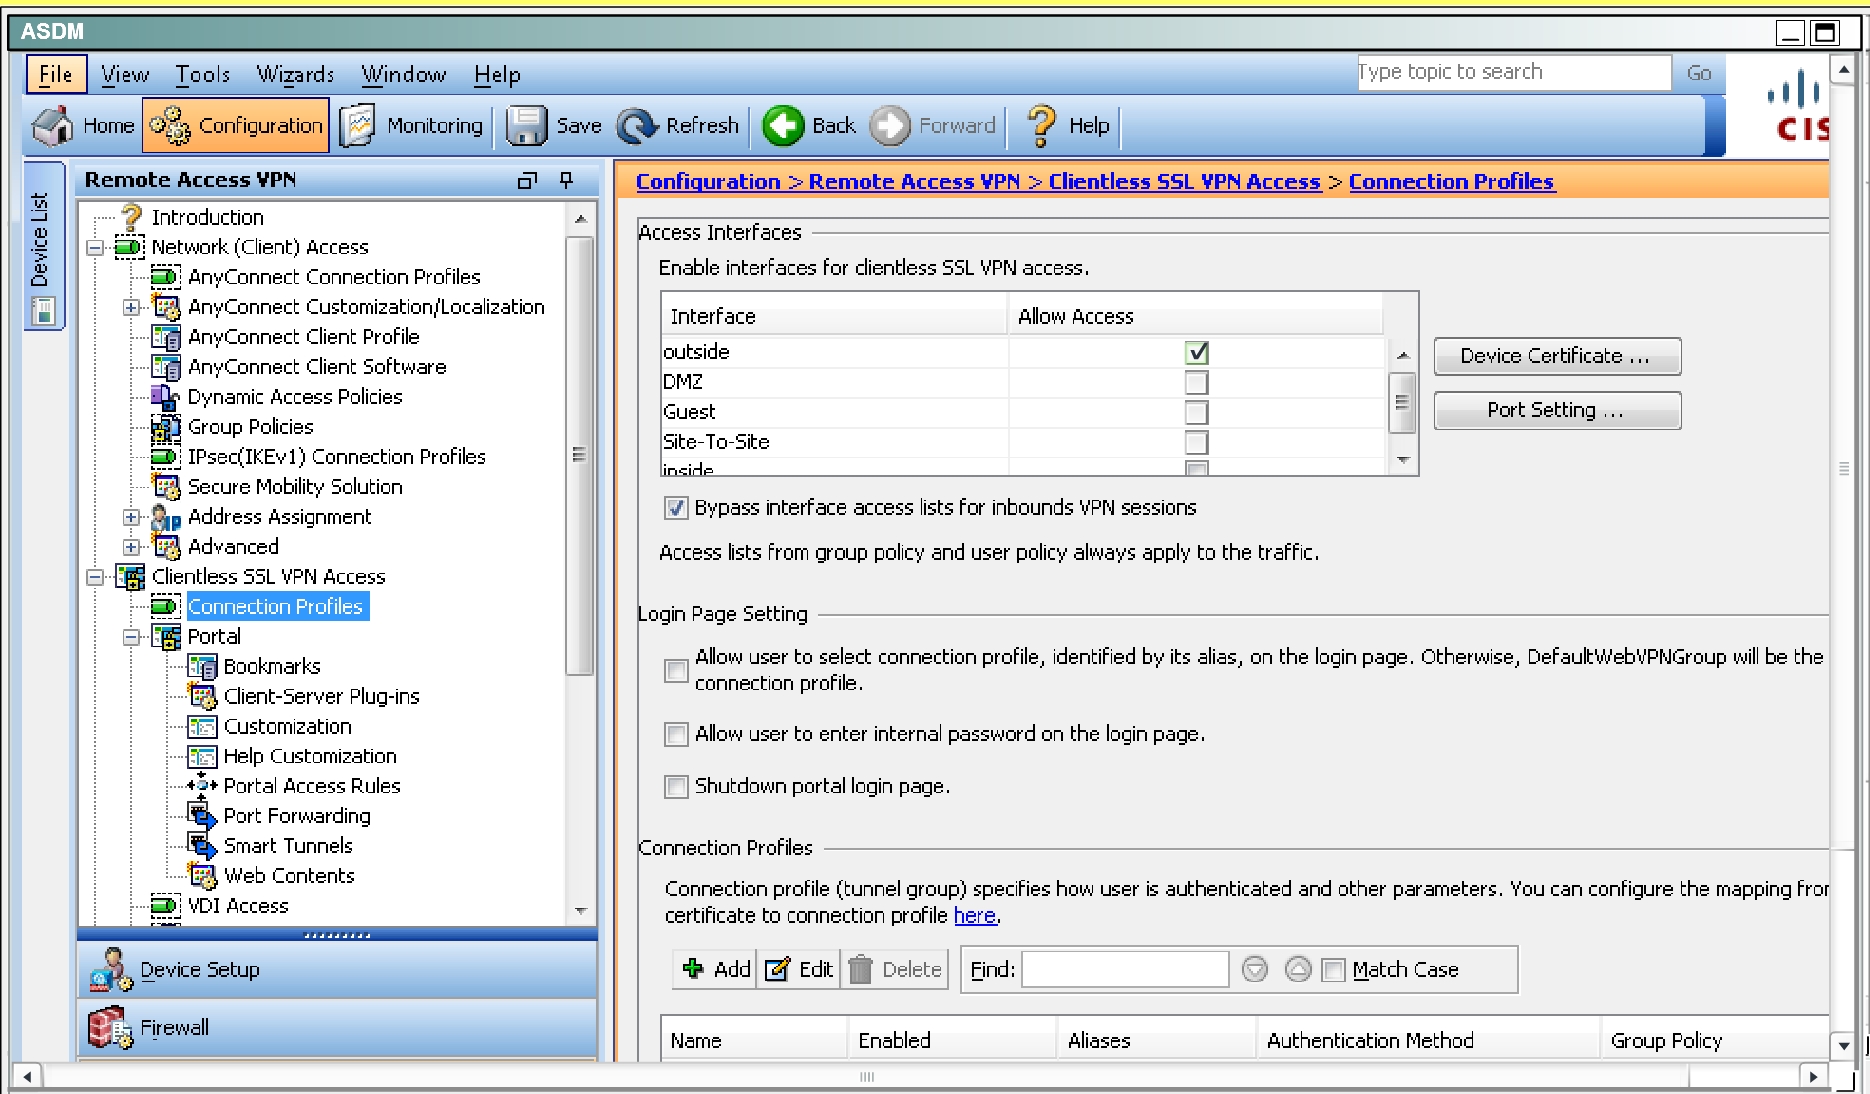
• Enable Clientless SSL VPN on the outside interface
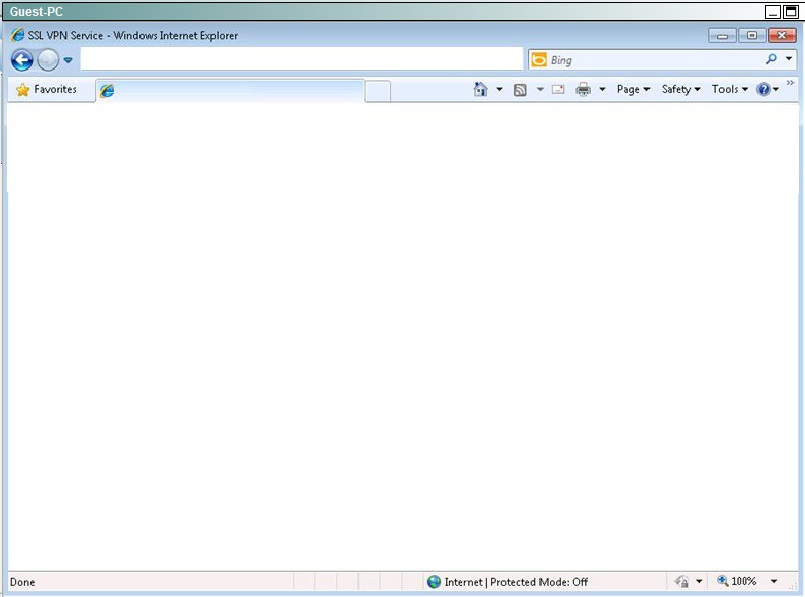
• Using the Guest PC, open an Internet Explorer window and test and verify the basic
connection to the SSL VPN portal using address: https://vpn-secure-x.public
• a. Youmay notice a certificate error in the status bar, this can be ignored for this exercise
• b. Username: vpnuser
• c. Password: cisco123
• d. Logout of the portal once you have verified connectivity
• Configure two bookmarks with the following parameters:
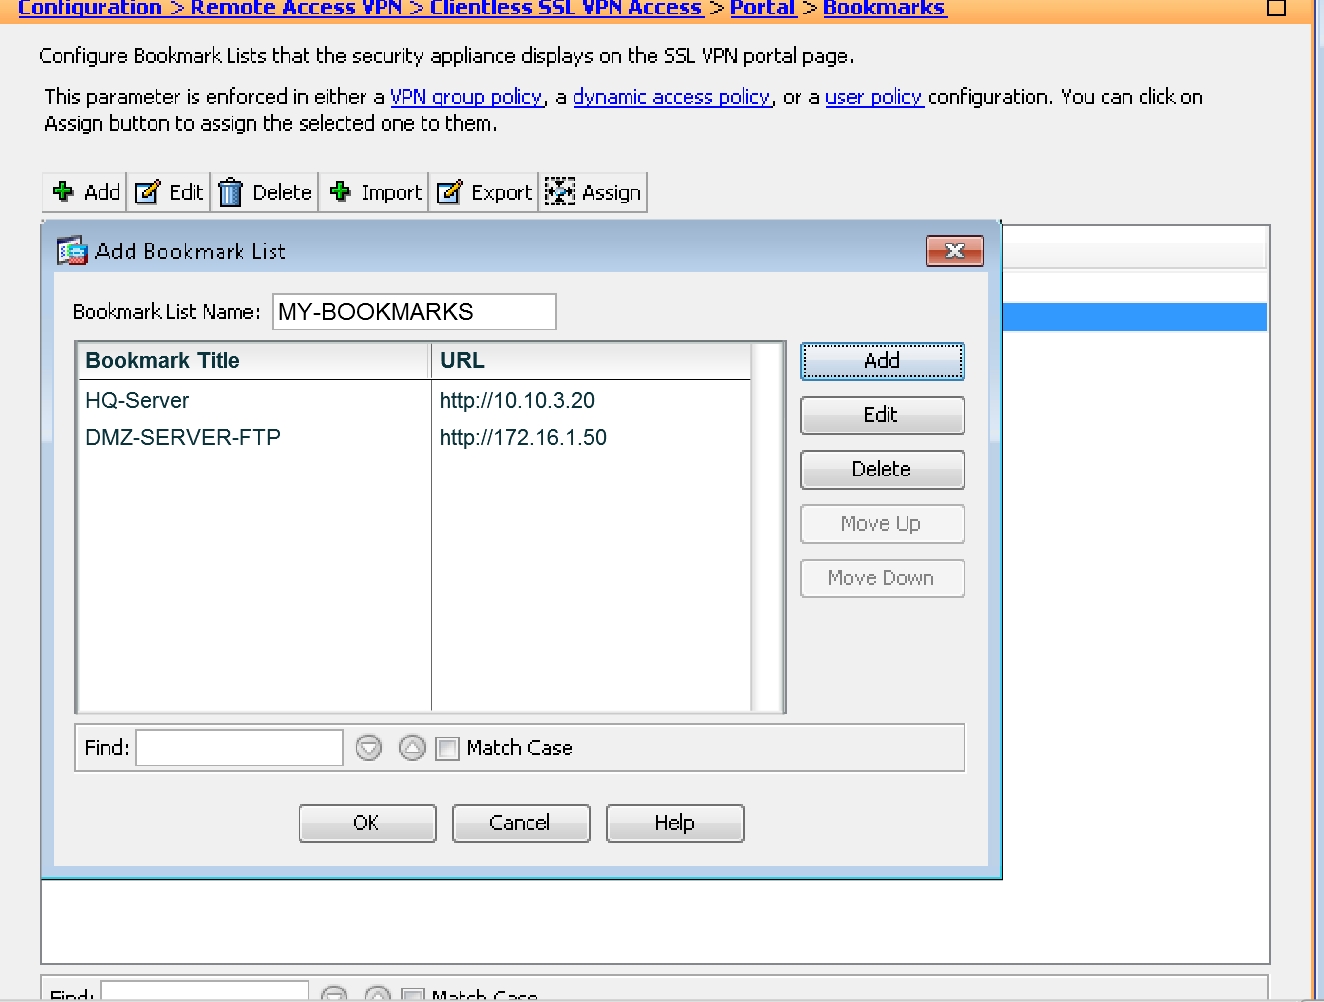
• a. Bookmark List Name: MY-BOOKMARKS
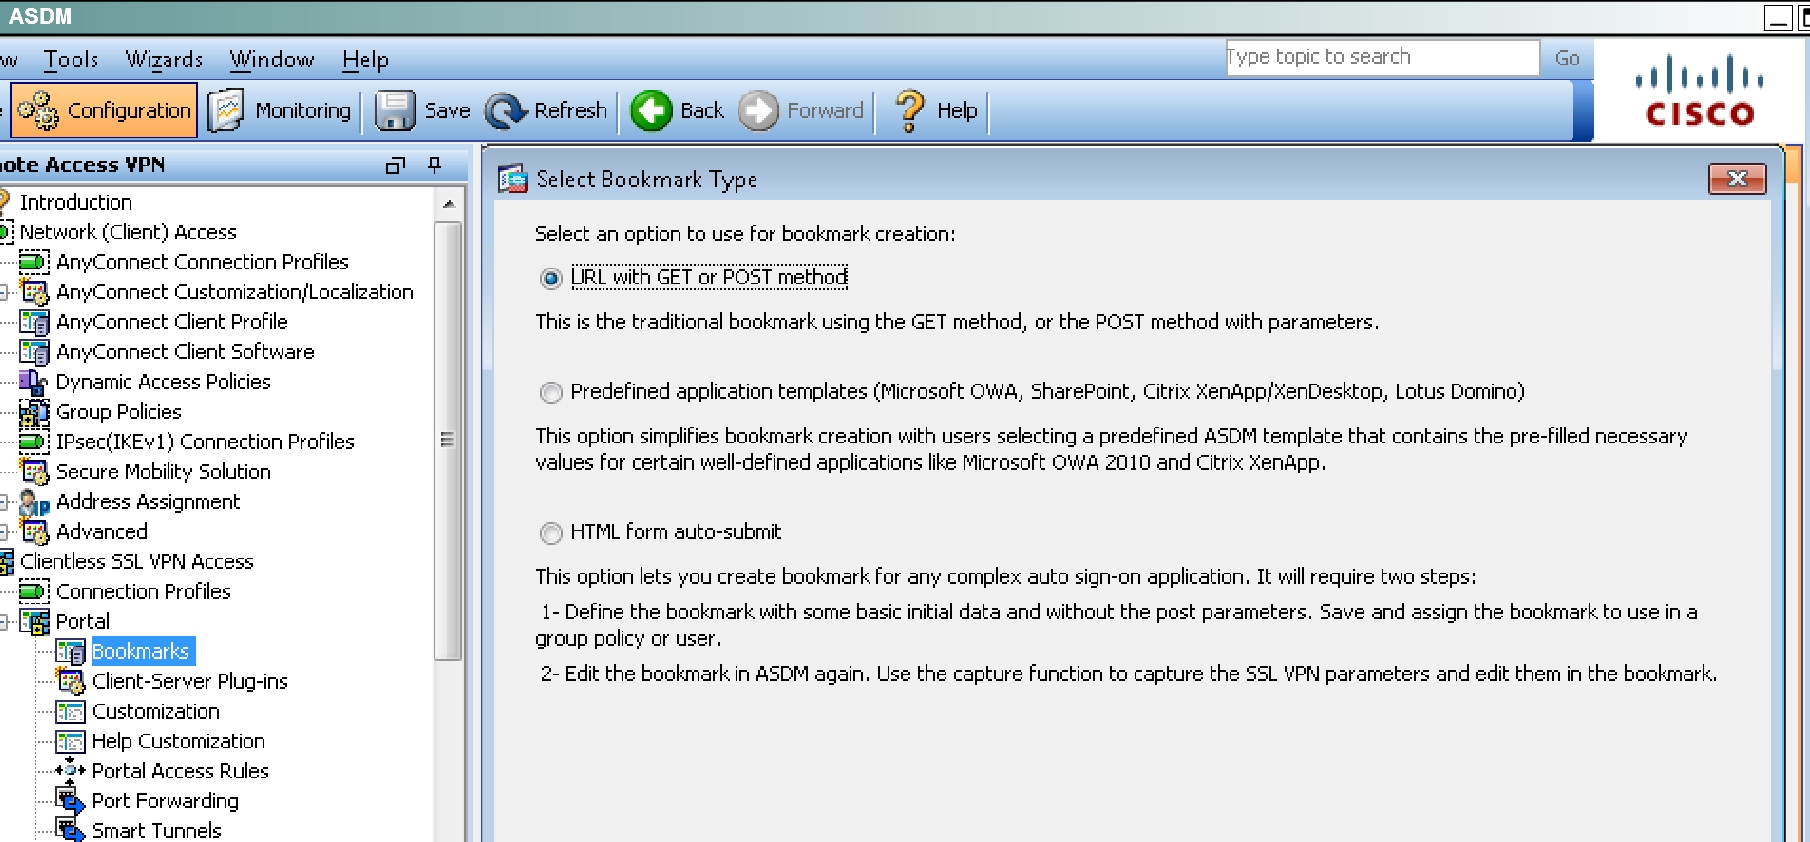
• b. Use the: URL with GET or POST method
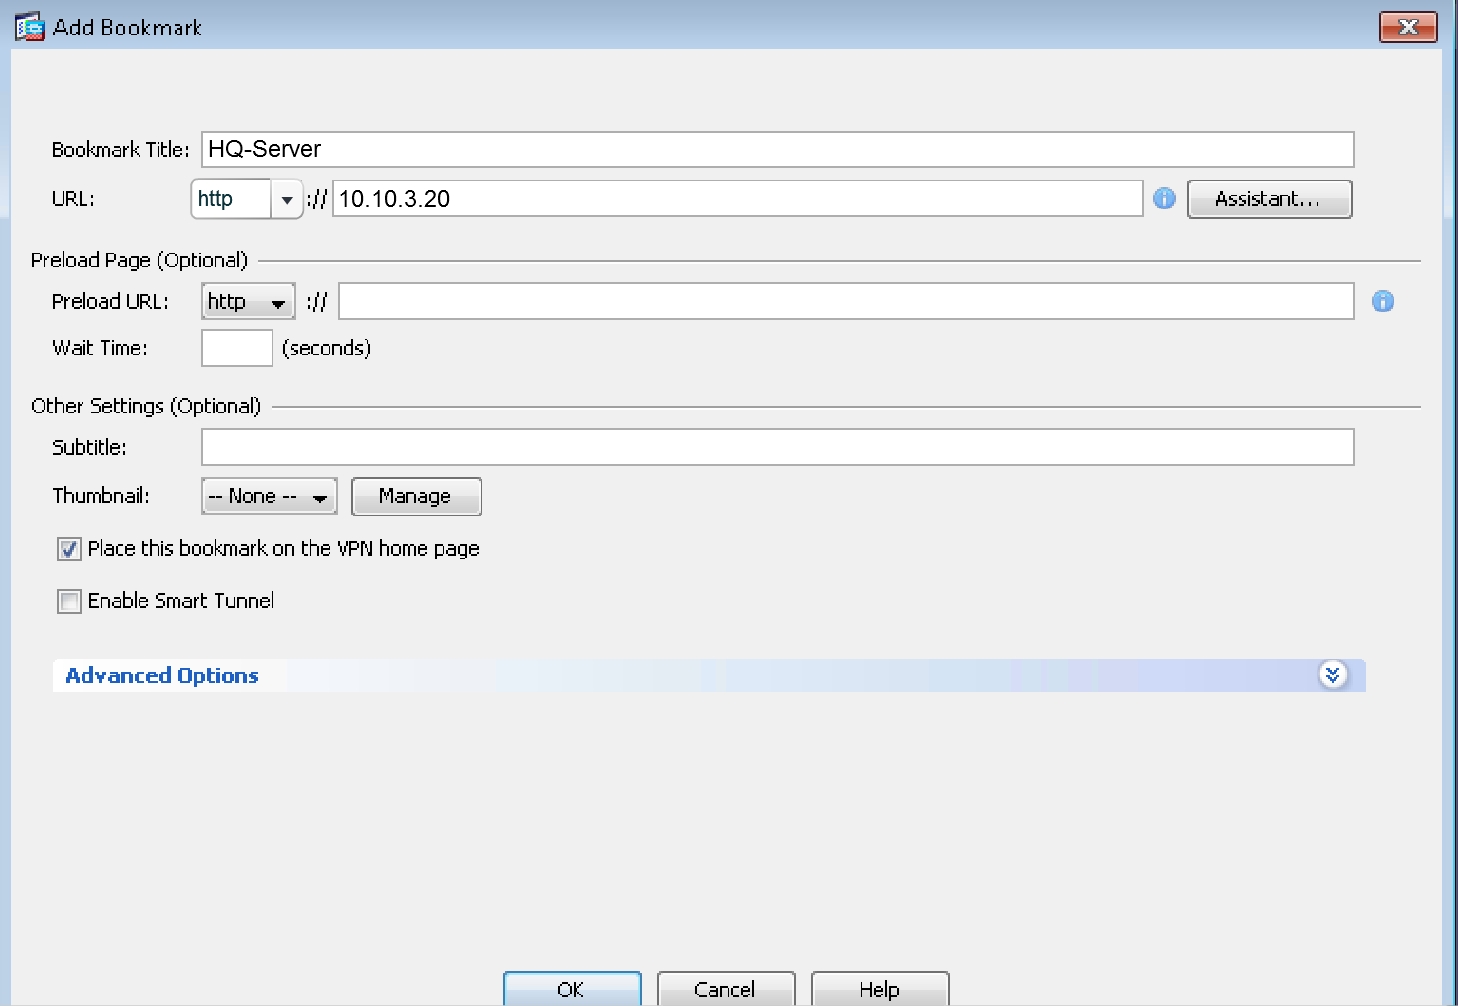
• c. Bookmark Title: HQ-Server
• i. http://10.10.3.20
• d. Bookmark Title: DMZ-Server-FTP
• i. ftp://172.16.1.50
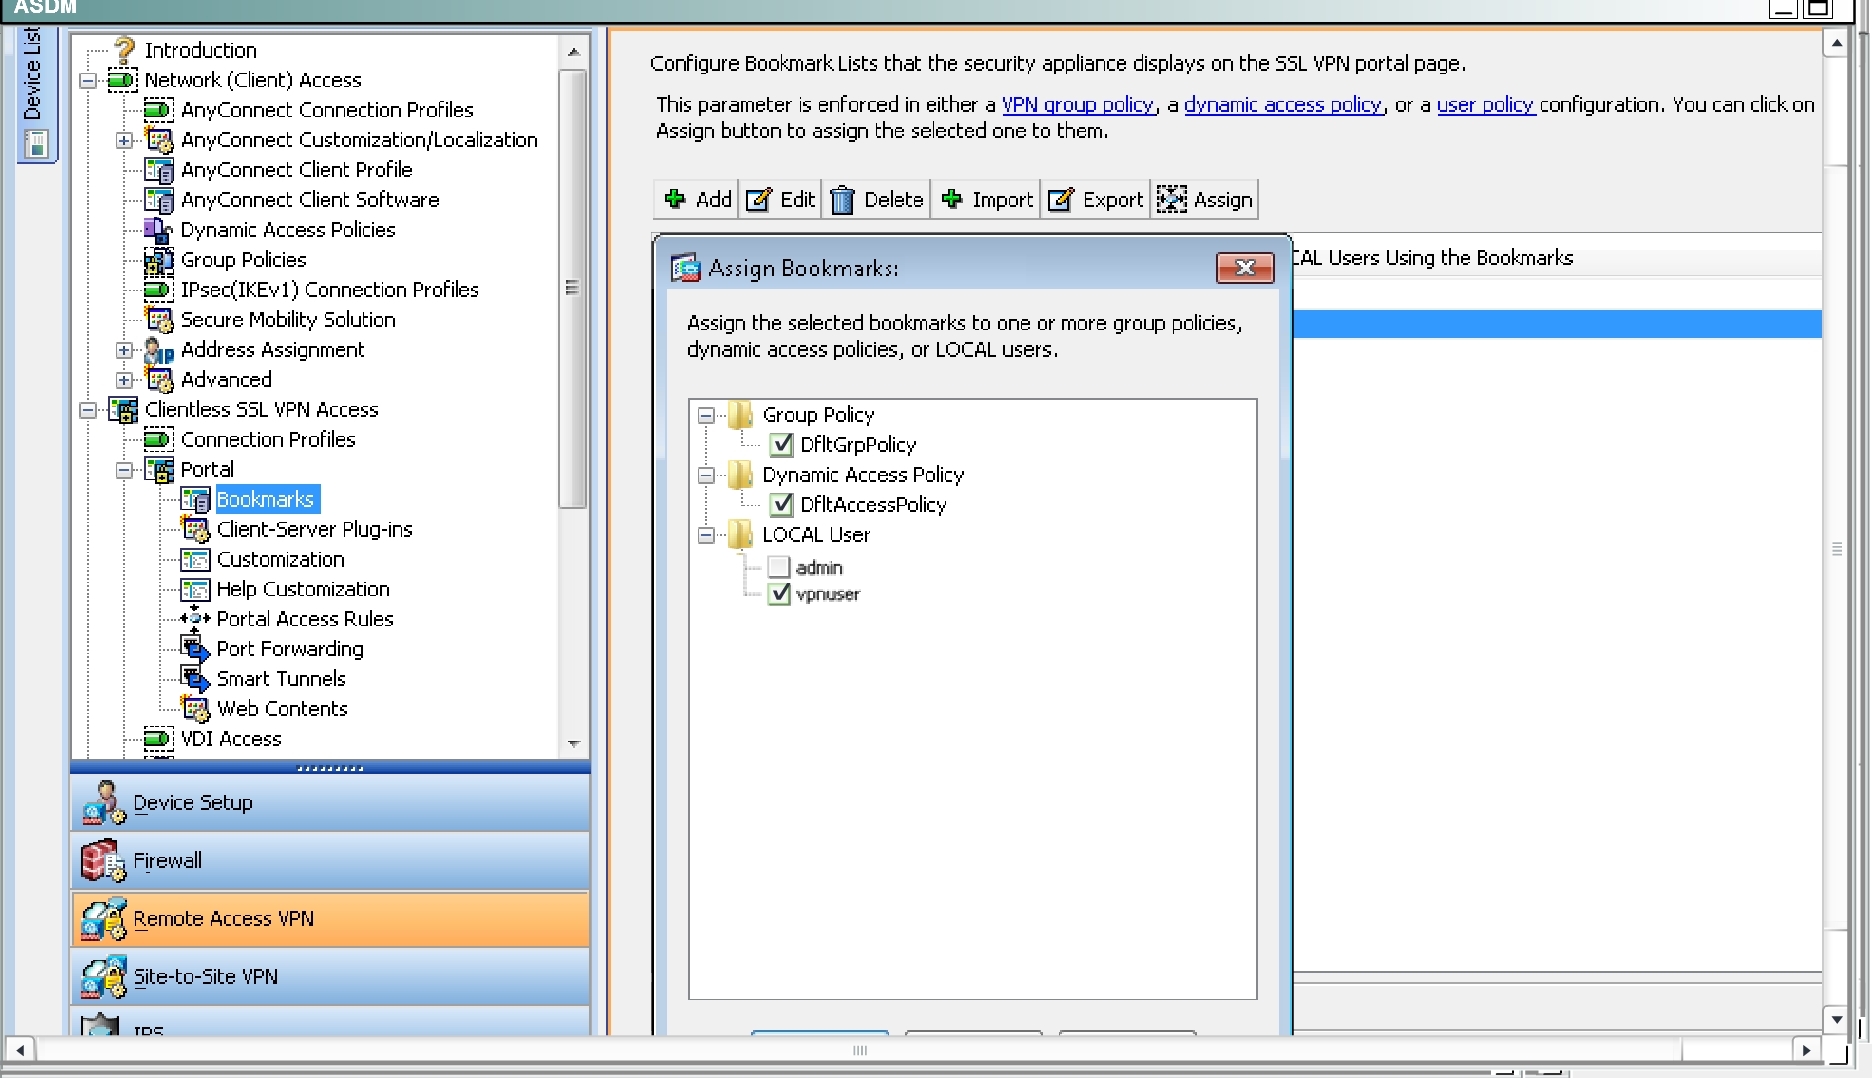
• e. Assign the configured Bookmarks to:
• i. DfltGrpPolicy
• ii. DfltAccessPolicy
• iii. LOCAL User: vpnuser
• From the Guest PC, reconnect to the SSL VPN Portal
• Testboth configured Bookmarks to ensure desired connectivity
Youhave completed this exercise when you have configured and successfully tested Clientless
SSL VPN connectivity.
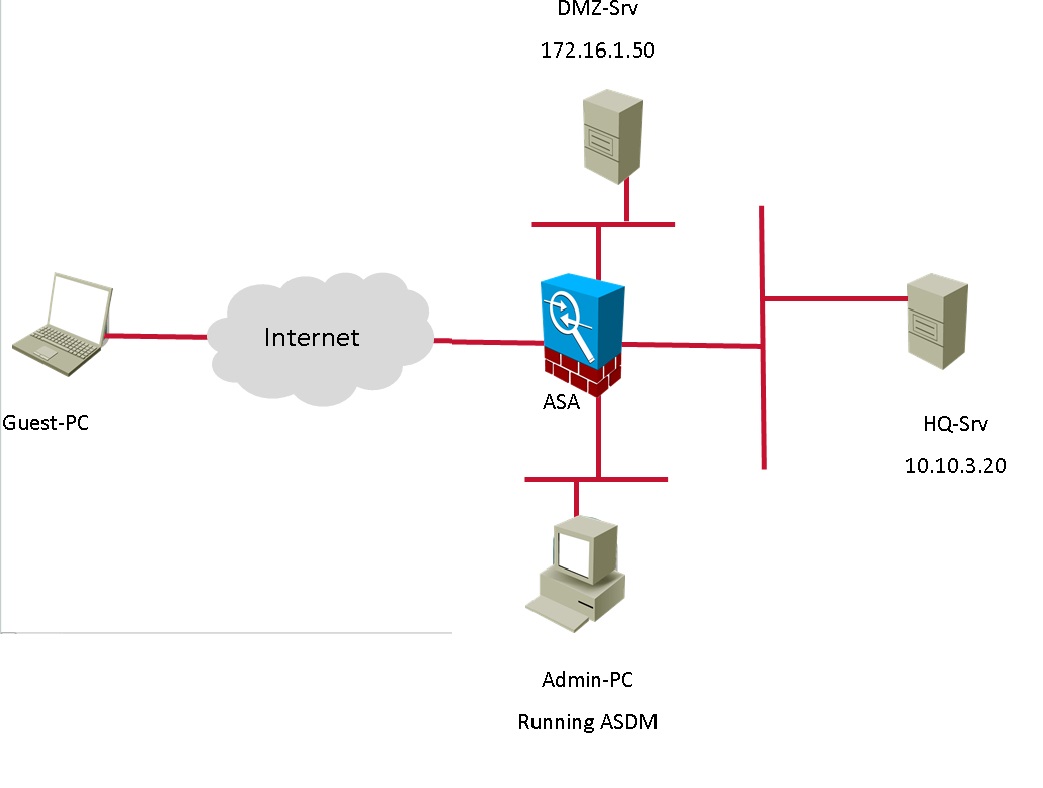
Topology:

Answer: See the explanation
Explanation:
First, enable clientless VPN access on the outside interface by checking the box found below:
Then, log in to the given URL using the vpnuser/cisco123 credentials:
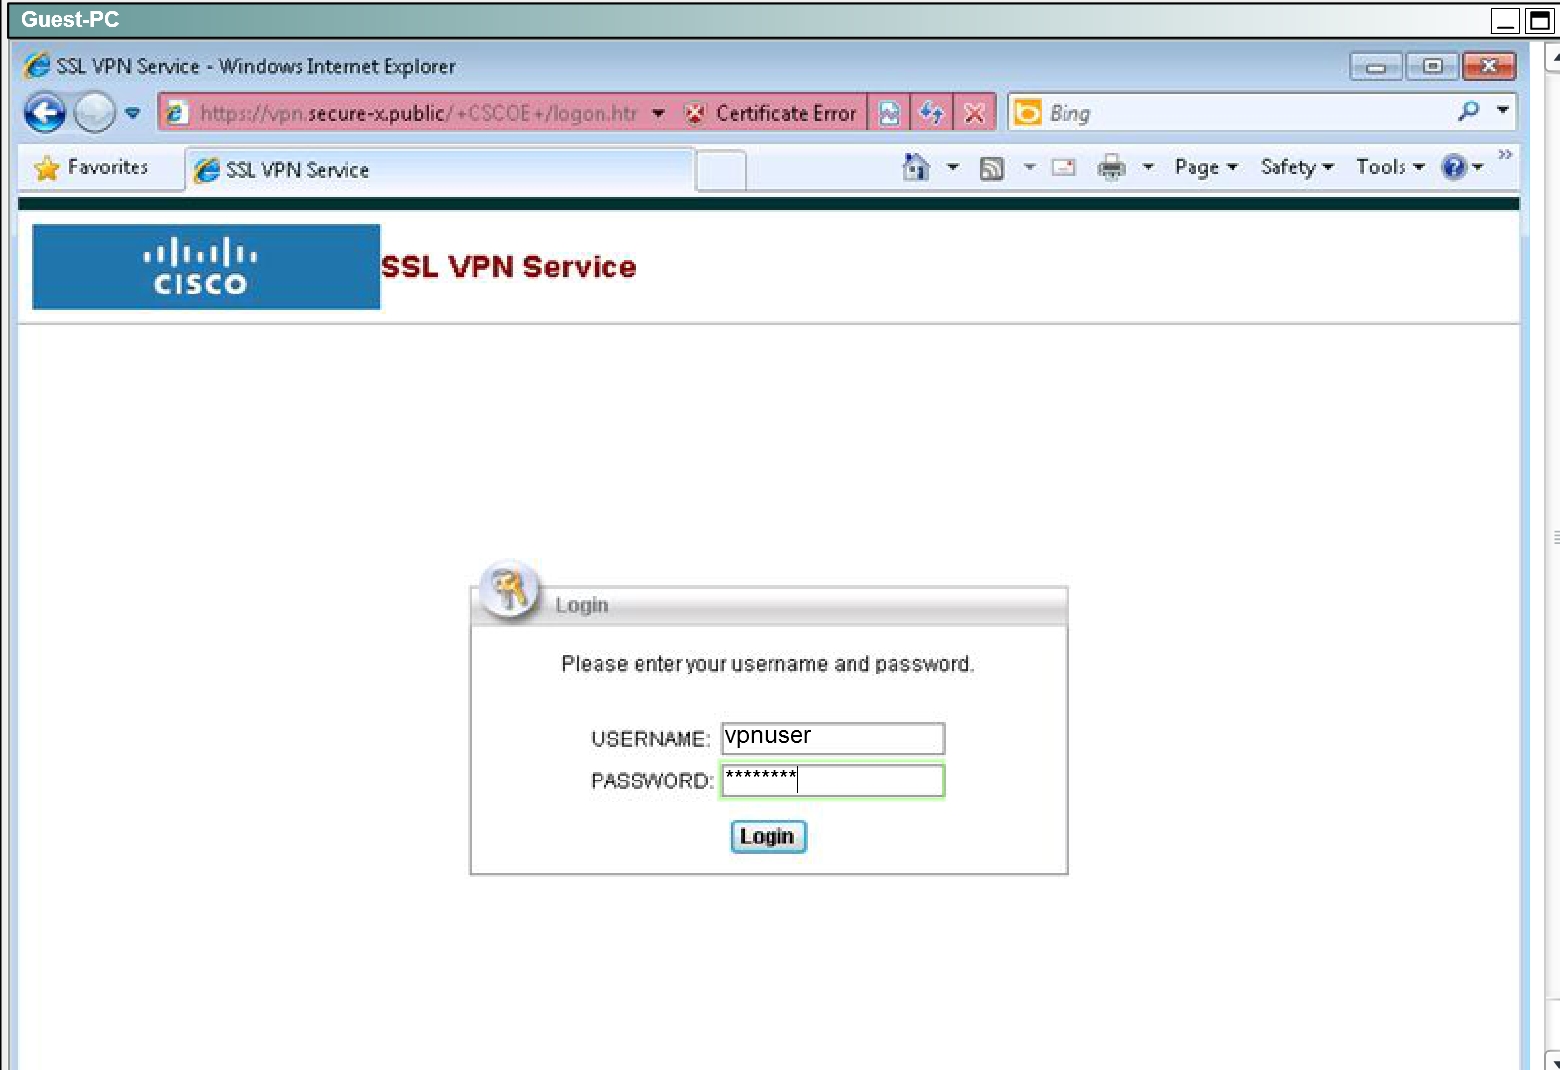
Logging in will take you to this page, which means you have now verified basic connectivity:
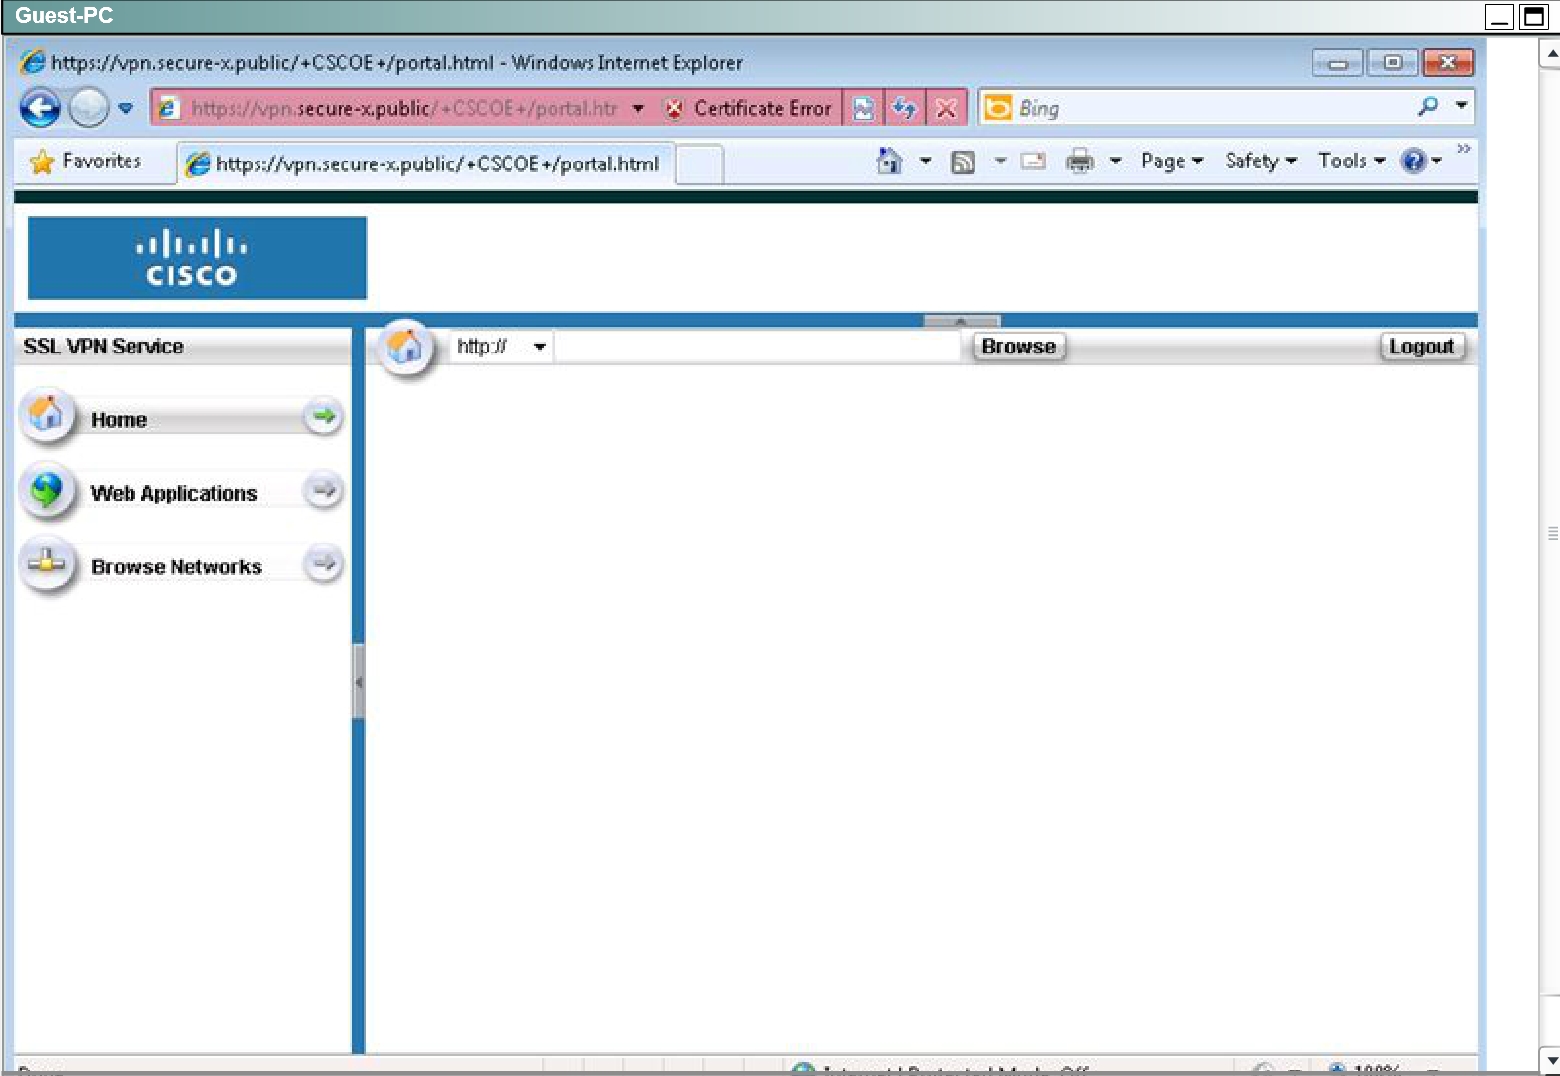
Now log out by hitting the logout button.
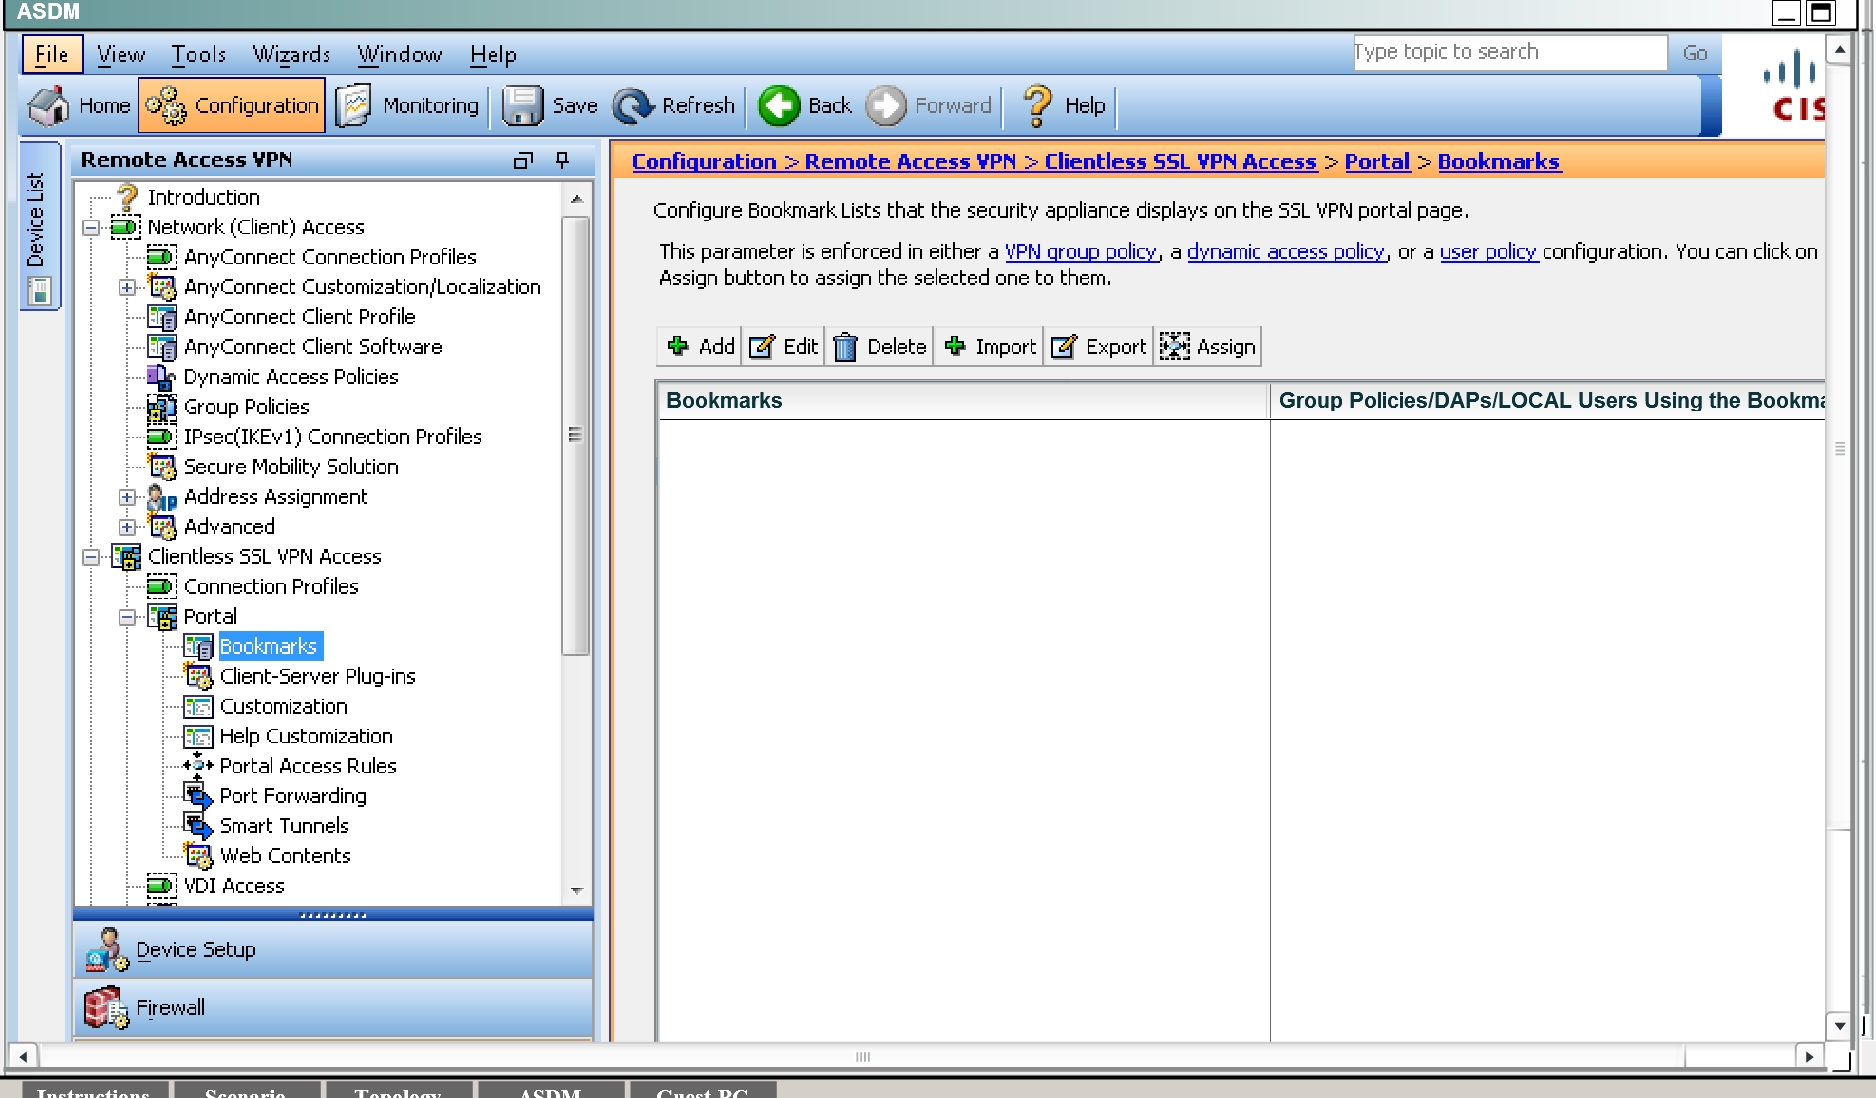
Now, go back to the ASDM and navigate to the Bookmarks portion:
Make the name MY-BOOKMARKS and use the “Add” tab and add the bookmarks per the
instructions:
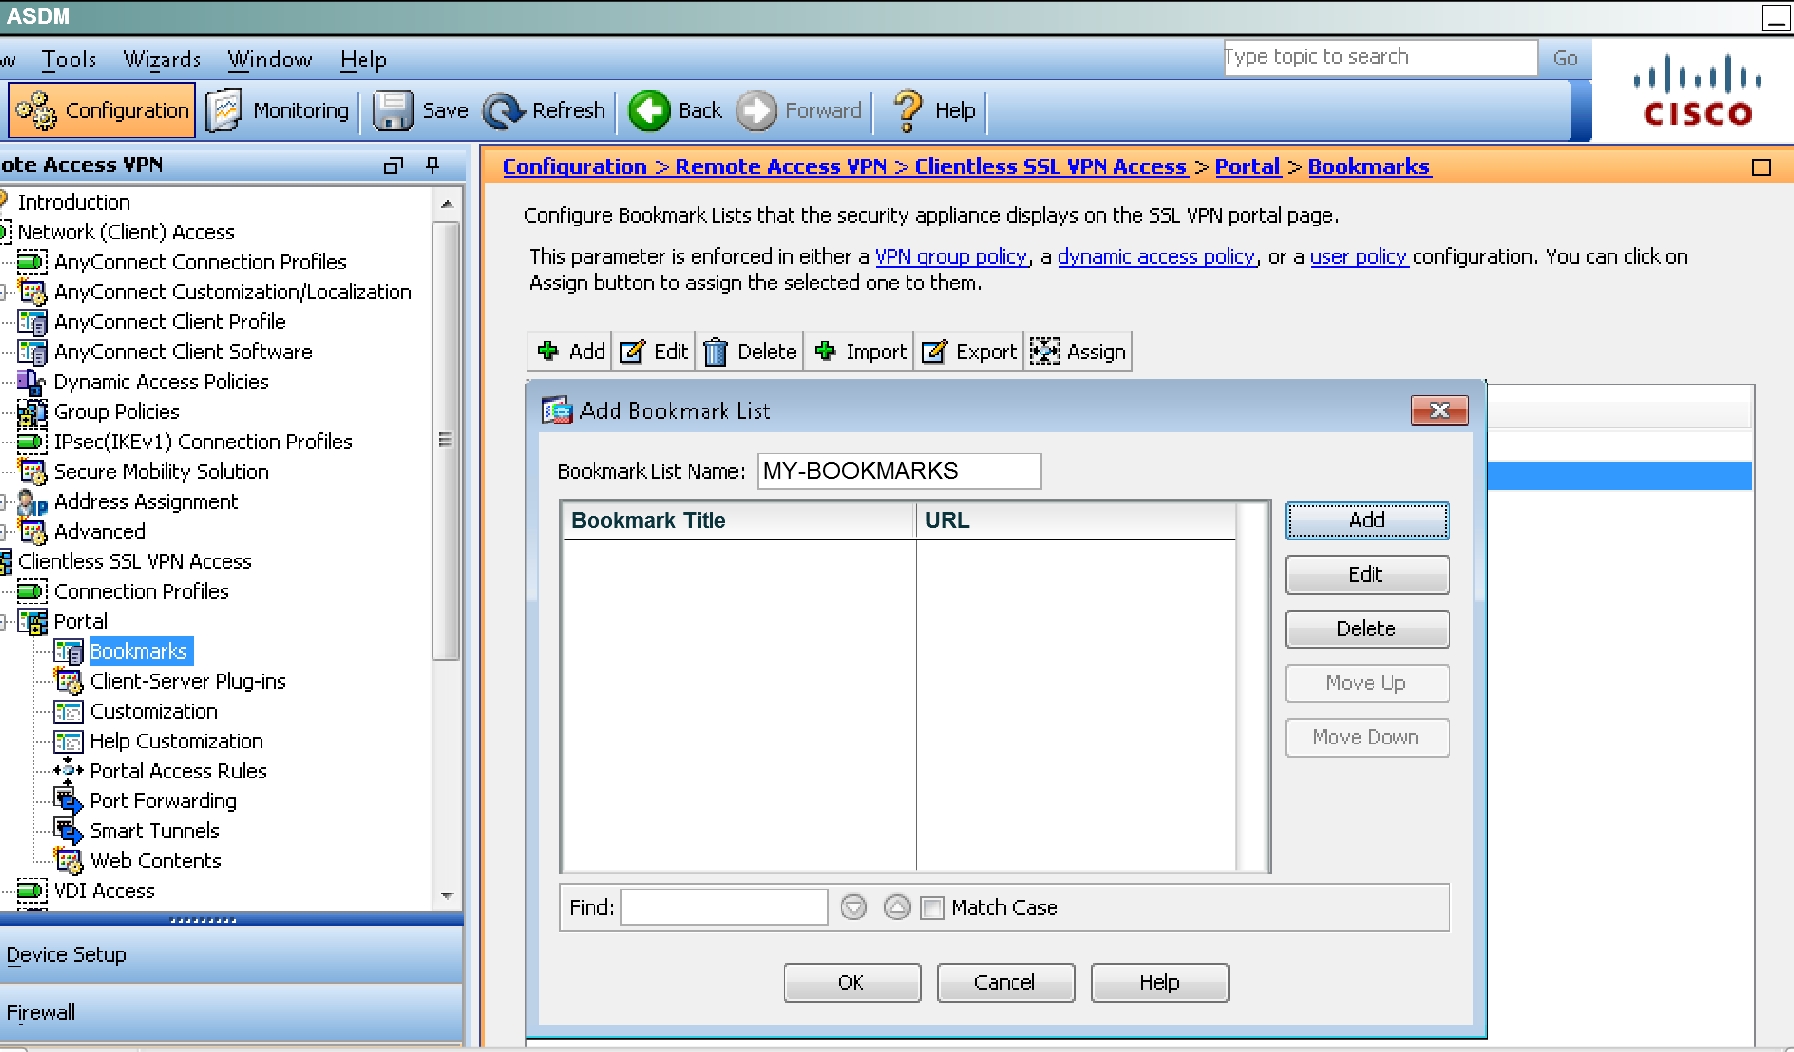
Ensure the “URL with GET of POST method” button is selected and hit OK:
Add the two bookmarks as given in the instructions:

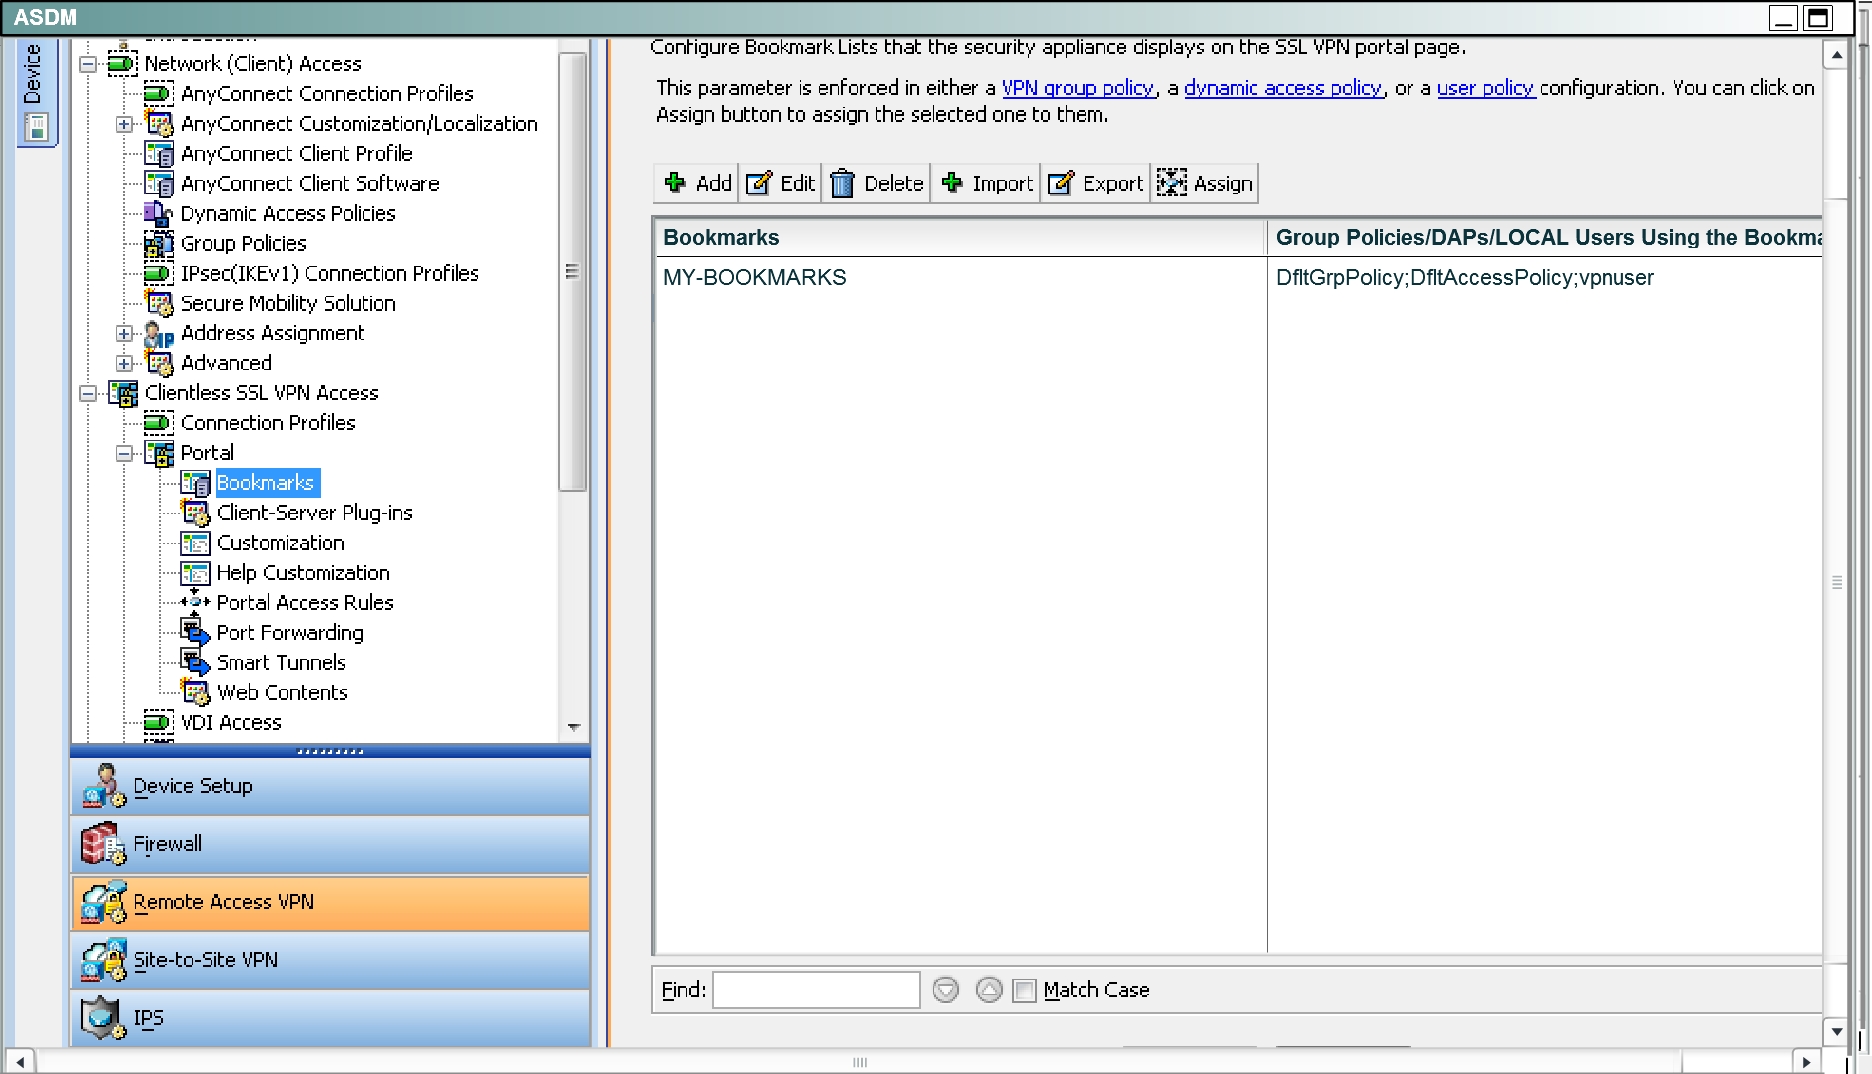
You should now see the two bookmarks listed:
Hit OK and you will see this:

Select the MY-BOOKMARKS Bookmarks and click on the “Assign” button. Then, click on the
appropriate check boxes as specified in the instructions and hit OK.
After hitting OK, you will now see this:
Then, go back to the Guest-PC, log back in and you should be able to test out the two new
bookmarks.


